New online instruction – Getting Warped

Getting Warped

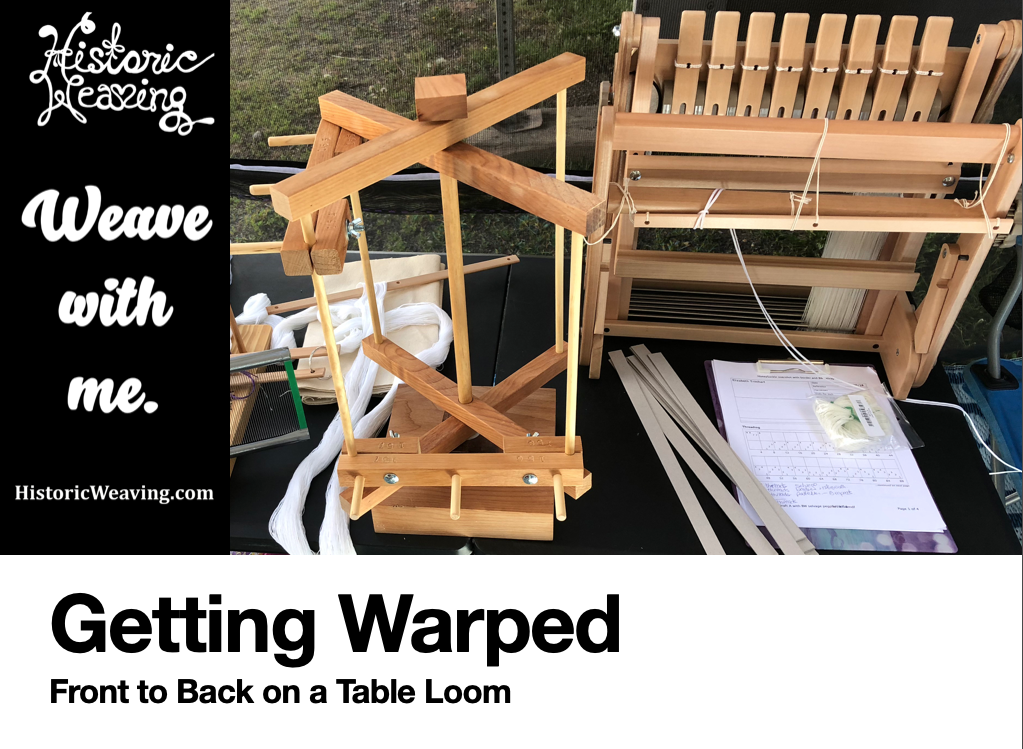
Do you struggle with warping your table loom? Would you like to reduce the time it takes to warp your next project  while reducing threading errors and tension issues?

Learning to warp front to back can make your weaving look better and be less stressful. Spend more time designing and weaving than you do dressing the loom.

This method of warping works for both table looms and floor looms.

The illustrated guide contains many photos fully document the process and tools.

Instruction includes an example project to ensure you have the chance to practice your new weaving skills.

The concept of project planning is included and you can see how a warp calculated project worksheet is used to build a warp.

Click here to purchase – Getting Warped

My Leclerc Tapestry Loom Adventure

This slideshow requires JavaScript.

I had a great loom experience this week. I was asked by the children’s program director of my church to look at a loom she had rescued and to see if I could set it up for children to weave on during Sunday School. I walked into the room on Tuesday and discovered this treasure, a 45″ Leclerc Gobelin Tapestry loom. After careful examination I can see that it is missing a few parts, but could it still be used for weaving in its present condition?

I did a little research on the internet, only to find that instructions for warping the loom are not available for free. There were two books that were suggested by Leclerc and they cost $35 to download. Not a good option for me at the present moment – this is a no-budget project.

My SIMPLE warping instructions for this loom:

  1. Warp it in a continous warp (best recommend for even tension). I elected instead to warp it in 2″ sections – with a goal of 6 ends per inch. (I did not have clearance to pass a ball of thread between the apron rods.)
  2. Warp Path: start warp on top apron rod, pass to front  of bottom rod and cross under the rod – being careful to avoid the apron string. Run the warp up to the top of the apron rod on the back side of the loom, pass warp to the front. (This will create a two layer warp.)
  3. Creating lashes – Use a  rod –  My rod came with the cords already wound on it. (there is a straight heavy cord that runs parallel to the rod and a second cord that is wrapped around the rod  over the straight cord.) Pass the lashing cord under the straight thread on the lease stick, and bring it to the back of the cord on the bottom of the two warps. The cord does not need to be tied to the warp, just pass behind it and be able to pull it up when needed. Suspend the lash rod above the weavers head but with in easy reach. Let the lashes hang over weavers head loosely.
  4. Loom operation : Pull on the lash cord gently to bring the warp forward. To expose the top warp after weaving, gently push the lash rod towards the loom to release tension on the rear warp. Best weaving will be in small handfuls, beaten with a tapestry beater or comb.