The six dollar loom – Introduction to Weaving Project

Six Dollar Loom

Have you wondered how you could construct enough DIY looms that were affordable for a group students to use?

I have the answer for you, try my six dollar loom. It can be constructed out of parts found at a local hardware store and does not require fancy tools to assemble. It is adjustable, transportable and able to be disassembled flat for storage.

I designed this loom this year for a weaving class at the local library, I was able to produce 20 units for $120 in parts. The hardware parts are also available in bulk from McMaster-Carr allowing you to save even more money if you happen to need even more.

It is as sturdy as a Hockett loom, it is also flexible in that you can easily modify the sett for weaving. My instructions include suggestions for the threads to be used for your very first project.

I will be using this loom design to develop more weaving lessons to be used in the classroom.

The first project is a bookmark, that is expected to take 30-60 minutes to weave in a classroom of new weavers.


To purchase your plans click on this link:

https://historicweaving.com/wordpress/products-page/looms/the-six-dollar-loom-introduction-to-weaving-project


Your purchase helps to fund the cost of hosting these plans and helps to keep weaving accessible to the next generation of weavers.


Update to the Ribbon Loom Project

It has a been a few days, and I can finally take a breather from weaving  and file a report on my progress. My current  configuration is successful. I can handle up to 100 threads, I wove a test length of 5 1/2 yards with no tension difficulties. No broken threads, no frustration and no errors. IMG_3369IMG_3356

I modified my loom design to include a creel arrangement rather than use the bobbins to create a “sectional” beam. The sectional beam  idea had developed tension problems the longer that Ribbon LoomI wove on the loom. Using the creel option, I accomplished a few important things. The length the the material to be woven is controlled by the amount of thread on the bobbin – bobbins can be changed out as needed. The creel tensioning arrangement I designed permits fast assembly and easy rearrangement without tools. I used one creel box for unheddled threads and another for the heddled threads.  Each creel box has a capacity of 30 threads. I also had the ability to adjust tension of each thread individually if necessary.  The creel design simplified the loom design considerably.

The loom is now principally a structure on which the creel threads are dressed for weaving there are no warp beams needed.  I used the same coroplast structure as before and left the wooden dowels and the existing “cloth beam” in place.IMG_3359

The blue tape, was  used to cover the slots I had made in the loom in order to insert and remove the sectional beams during my earlier design tests. I used painter’s tape to ensure that the fine threads would not stray into the open slots while threading.

I also picked up a couple of tricks that made using this loom design even more inviting. Simplicity has a product called the SideWinder – a portable bobbin winder.  I made use of this tool to wind my bobbins for this project.  I also picked up a inexpensive yardage counter by Boye that made it convenient  for me to measure the thread as it wound on to the bobbins.  I placed the spools of thread on a spindle in the creel, threaded the thread through the yardage counter that was held to the work surface by suction cups, and continued the thread through the bobbin winder as specified in its instructions. Thirty nine bobbins with just the right amount of thread in less than 15 minutes. Awesome.

Threading the loom was a breeze. I lined up the bobbins matching the inkle draft, drew the thread through the holes on the sides of the creel next to the bobbin.  I then threaded the top creel through the heddles and alternated it with a thread from the bottom creel. I was ready to weave in less than an hour.

The creel was made using a package of foam hair rollers cut into “washers” , 12″ pieces of all thread, and sewing machine bobbins. The case for the creel was picked up at a local dollar store. Its primary feature is that its perforations held the all thread rods and the length would support 15 bobbins.    Please use the comment box  and let me know if you are interested in obtaining plans for this loom.


Designing an Inkle style ribbon loom

I have been preoccupied with loom design in the past couple of days. There are things about a traditional inkle loom that just bug me. Remember, I am fine thread weaver by nature! To me regular tapestry looks like burlap.  My problem has been that inkle looms are so much overkill  (too much wood, too bulky) if you want to weave pretty little hair ribbons. I also hated the fact that you had to thread everything on the loom before you got started (one thread out of place and you had to start all over) and the fact that so much of the design was warp dependent (too much commitment.)

I have been playing what if: I want to weave lengths of ribbon that could be longer than a traditional inkle loom permits (enough to trim a dress), what if I wanted to change colors midstream? Can I handle supplemental warp(s) in such a way that I do not have tension problems over time. What if I wanted to handle 100 threads not 36? What are the cheapest materials I can find that do not require the services of a woodworker. (I don’t have my own private carpenter).IMG_3310 Can I use recycled materials? Will this loom be portable? Can the loom be taken apart for shipping or storage?

I have found that I can create a creditable ribbon loom that meets my needs out of some pretty humble stuff I found at my local HOME DEPOT.

  • A Blank Coroplast Sign
  • #8-32 Threaded Rod 12″
  • #8-32 Wing nuts
  • #8-32 Nuts
  • #8-32 Washers
  • 3/16″ Wooden Dowels – 12″ long
  • drawer knobs – that fit the #8-32 threaded rod.

Other things I had at home:

  • sewing machine bobbins – old straight ones are fine I used some of the metal ones.
  • Empty sewing thread spools.

Tools usedTools I used:

  • Scissors (the little Fiskars type) to enlarge holes in coroplast
  • Exacto knife and blade (to cut coroplast)
  • An inexpensive small hacksaw (to cut threaded rod and dowel) I picked up the $8 one in the store. It had a handle and a blade  – no fancy stuff.
  • A sharpie – to mark cutting lines
  • A 3″ wood screw — used as an awl to start the holes in the coroplast. Requires little hand pressure. Finished heavy work with the scissor.
  • A French Curve to get pleasing curves on the sides of the loom.

IMG_3313IMG_3306   IMG_3317IMG_3287  I’m still tinkering with the design so I am not quite ready for print out final measurements. It is my intention to share this from this post when I am sure that it will work for most people.
The yardage counter was used when I wound thread from spools to bobbins. It does work nicely. My bobbins also fit on this dowel nicely for transfer to the “sectional” bobbin on the loom. It would be great to have a baby tension box someday for winding these packages.

IMG_3304So far, I am pleased  with the weight, size, and the fact I can adjust the tension individually on each bobbin. The weaving area is about 8″ long. I have a great shed. It took only a few minutes to thread and get started.

I am modifying the design to make it easier to change the bobbins on the fly. I have found you can use existing inkle patterns or make use of standard weaving drafts. I will be exploring more pick-up work and additional shaft control options shortly. My goal is to be able to make beautiful silk ribbon by hand.


Pin Loom or Knitting Needles…. that is the question.

IMG_2912I had the opportunity to purchase a pin loom this weekend as a result of a trip to lovely Butte Montana. The day was quite enjoyable, if a bit chilly from the snow flurries. I really did not have the expectation of picking up a pin loom that day, but when I discovered it in the clearance area of a Jo-Ann’s store for 25% of its retail price, the bargain hunter in me was hooked.

I brought it home and waited until dinner was complete, and cleared away. I brought it out and looked at the instructions. All I wanted to make was a simple pair of baby socks for a grandbaby that is due in the next couple of months. I figure just a couple of hours of work.IMG_2977 Right?  Oh, so so wrong!

I began my project by watching the video and casting on and learning how to do the knit and the purl stitches on the loom. I noticed a couple of issues for me right away. It is difficult to reach the middle area of the sock when it is set to a small size. Two start over’s and more than 8 hours later, I looked at the project and it was not all that I hoped for.

IMG_2979

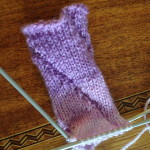
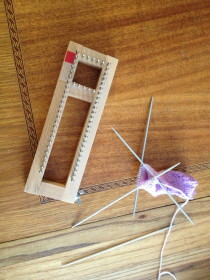
I am not a great knitter (I am a weaver). I can read and follow patterns, but often it is the counting that gets the better of me. But give me credit, I pulled out my trusty (rusty) double point needles, cast on and got started. Finding the locations of the purl stitches on the needles was easier to remember — I divided the stitches evenly so that I knew the two purl stitches were on the outside ends of the needles and never in the middle. On the pin loom I needed to use some sort of marker – the red post it tab.  In less than three hours I had this sock halfway knit. Note that you are seeing the right side of the sock in this picture, but when I am knitting the right side is on the interior of the needles. (Experienced knitters don’t snicker too hard, I am handicapped – I am left handed.)  I always have to peek inside to see what is going on. I completed the sock tonight with only minor trauma, when I picked up the knitting after taking this picture I forgot to turn it inside out before starting to knit… I had a four rows of purl stitches before I realized it. Off come the needles, and out come the stitches —(I was almost in despair except for a friendly crochet hook to save the day).  Weaving is easier than this. Here is my final sock, a spiral tube.  Has anyone woven a baby sock, and how did you accomplish your magic feat?IMG_2985

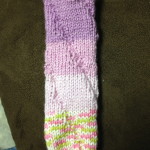
My assessment: the sock loom is nice and sturdy,  and it works according to the instructions that come with it.  It is probably designed for someone who is a bit skinnier than I (children’s – teen’s socks).  According to the directions I need to cast on 88 stitches to make a sock for myself and my loom is not that big (you can only cast on 60 stitches) The loom gauge is 7 stitches per inch. The actual knitting is not difficult – the rhythm  is addicting once you get going. But it is more time consuming that I thought. I think I’ll stick to the knitting needles for this particular task this time.

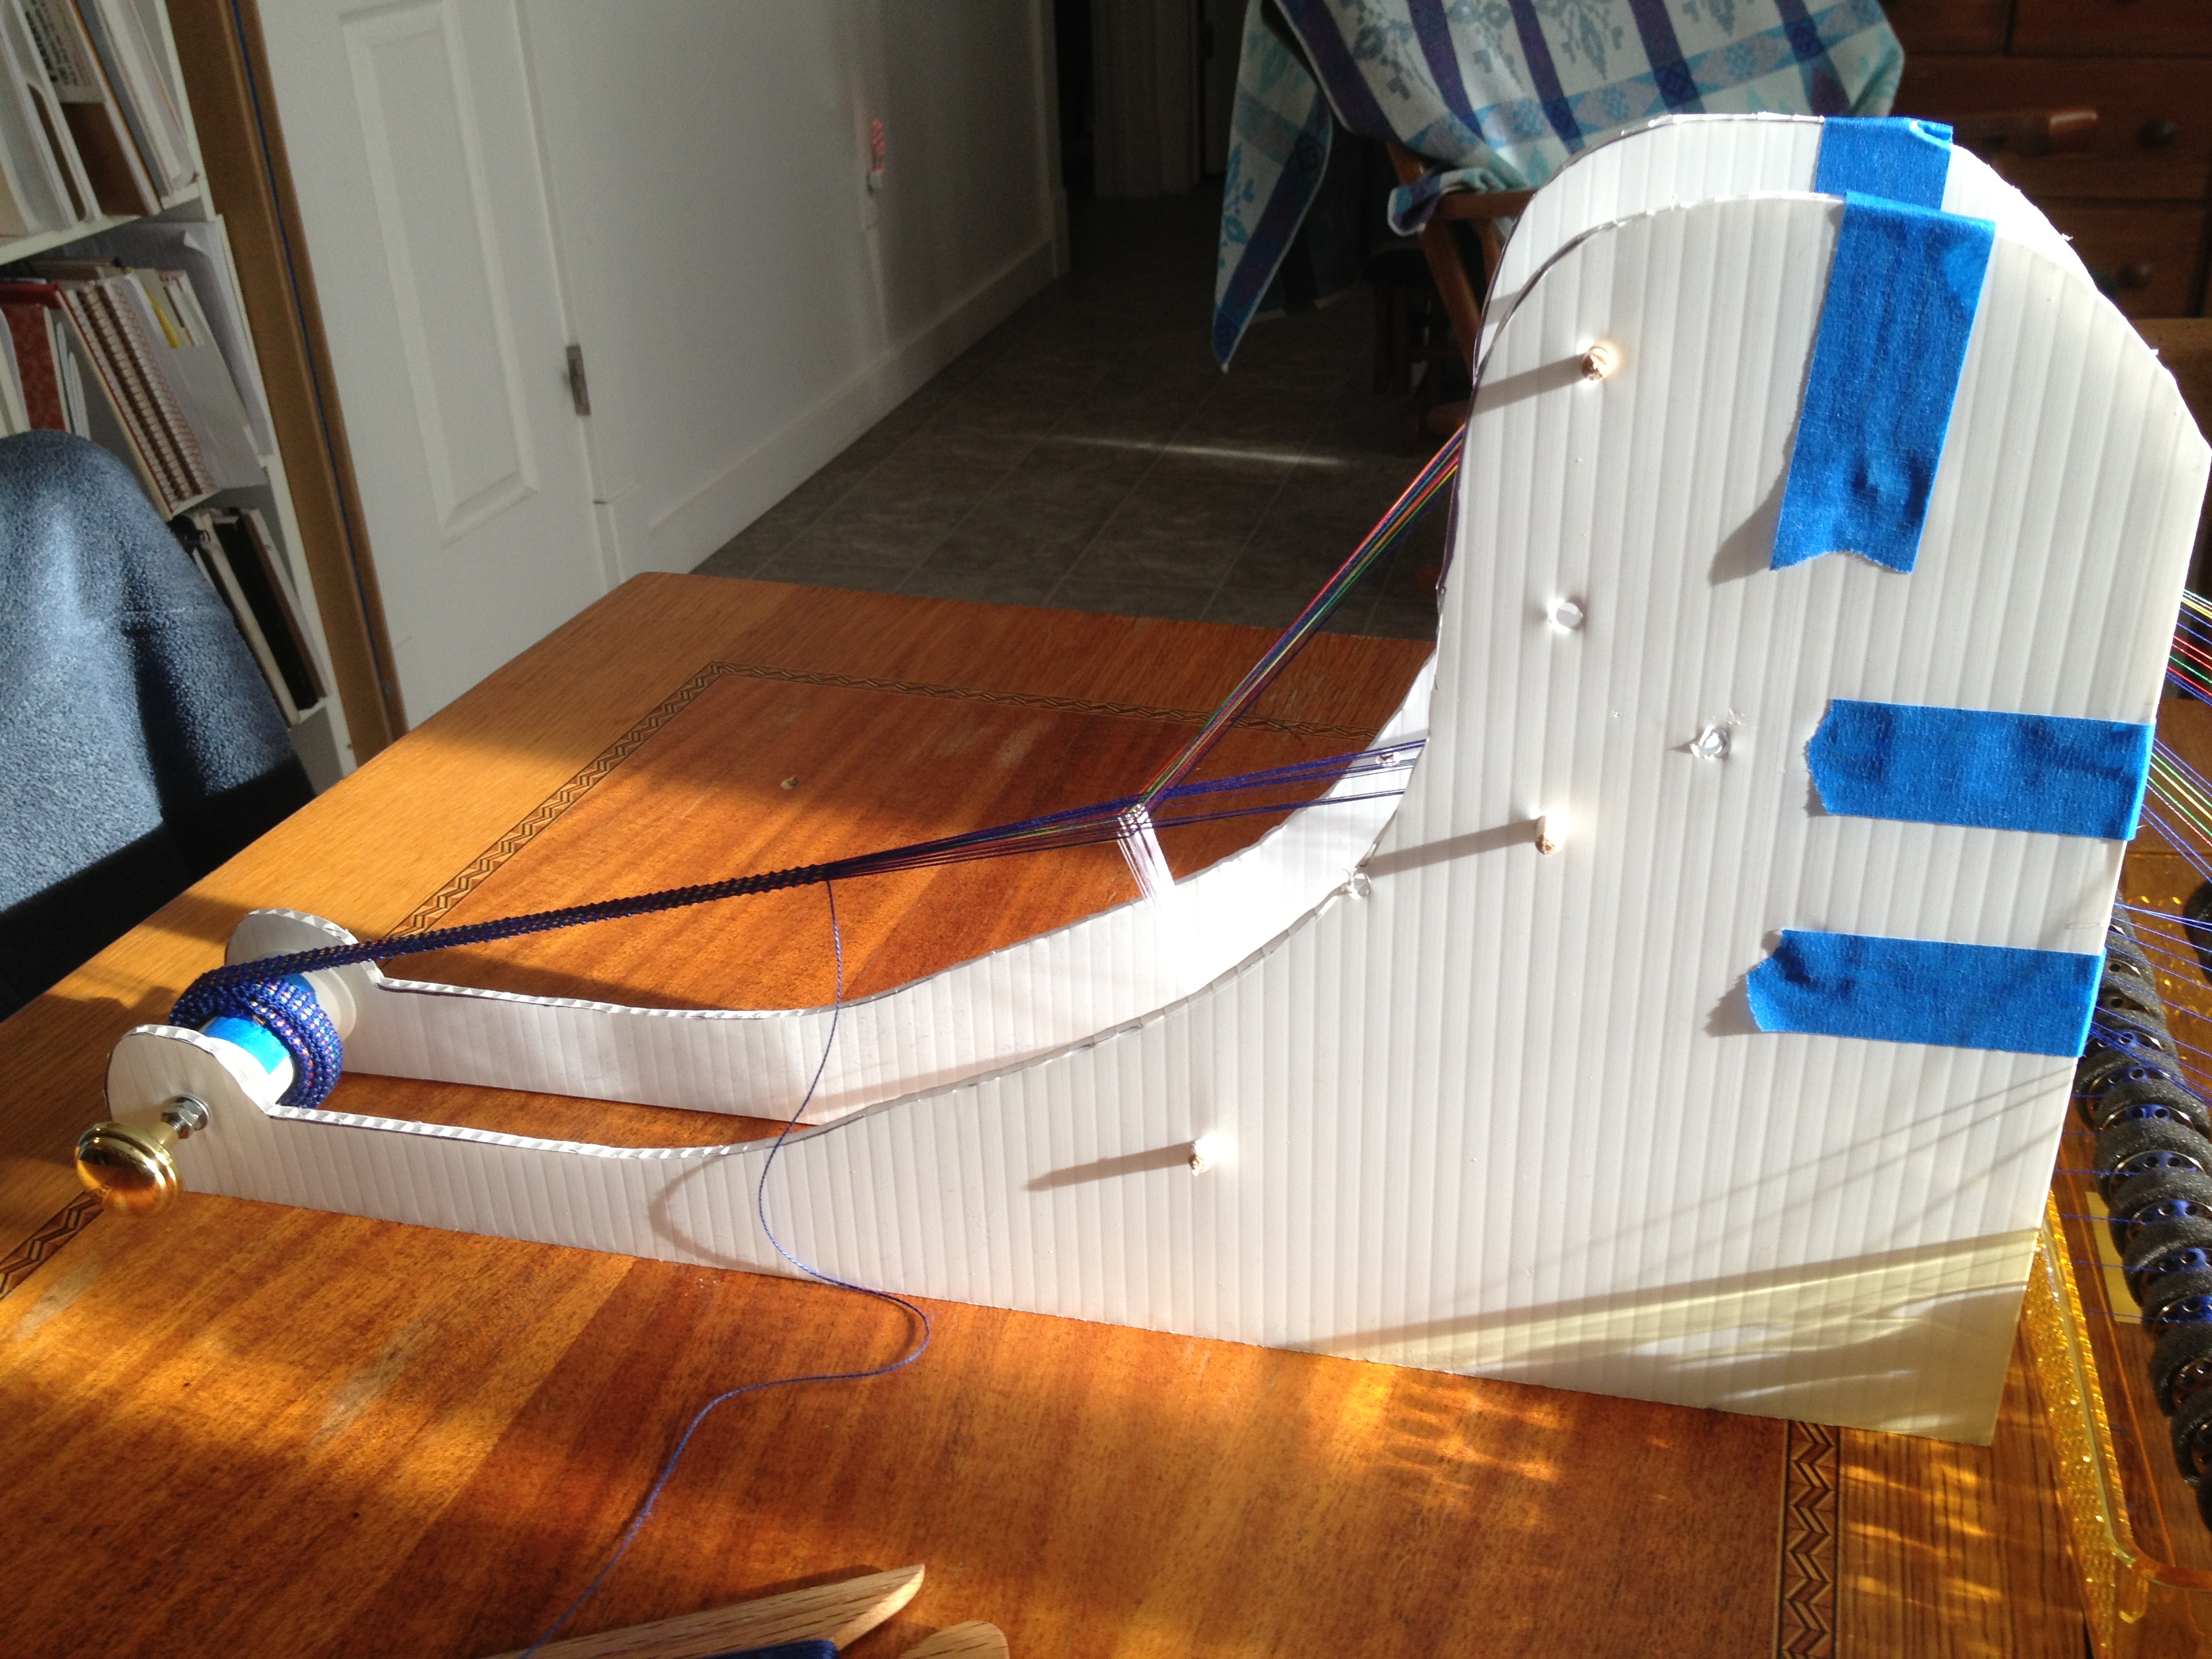
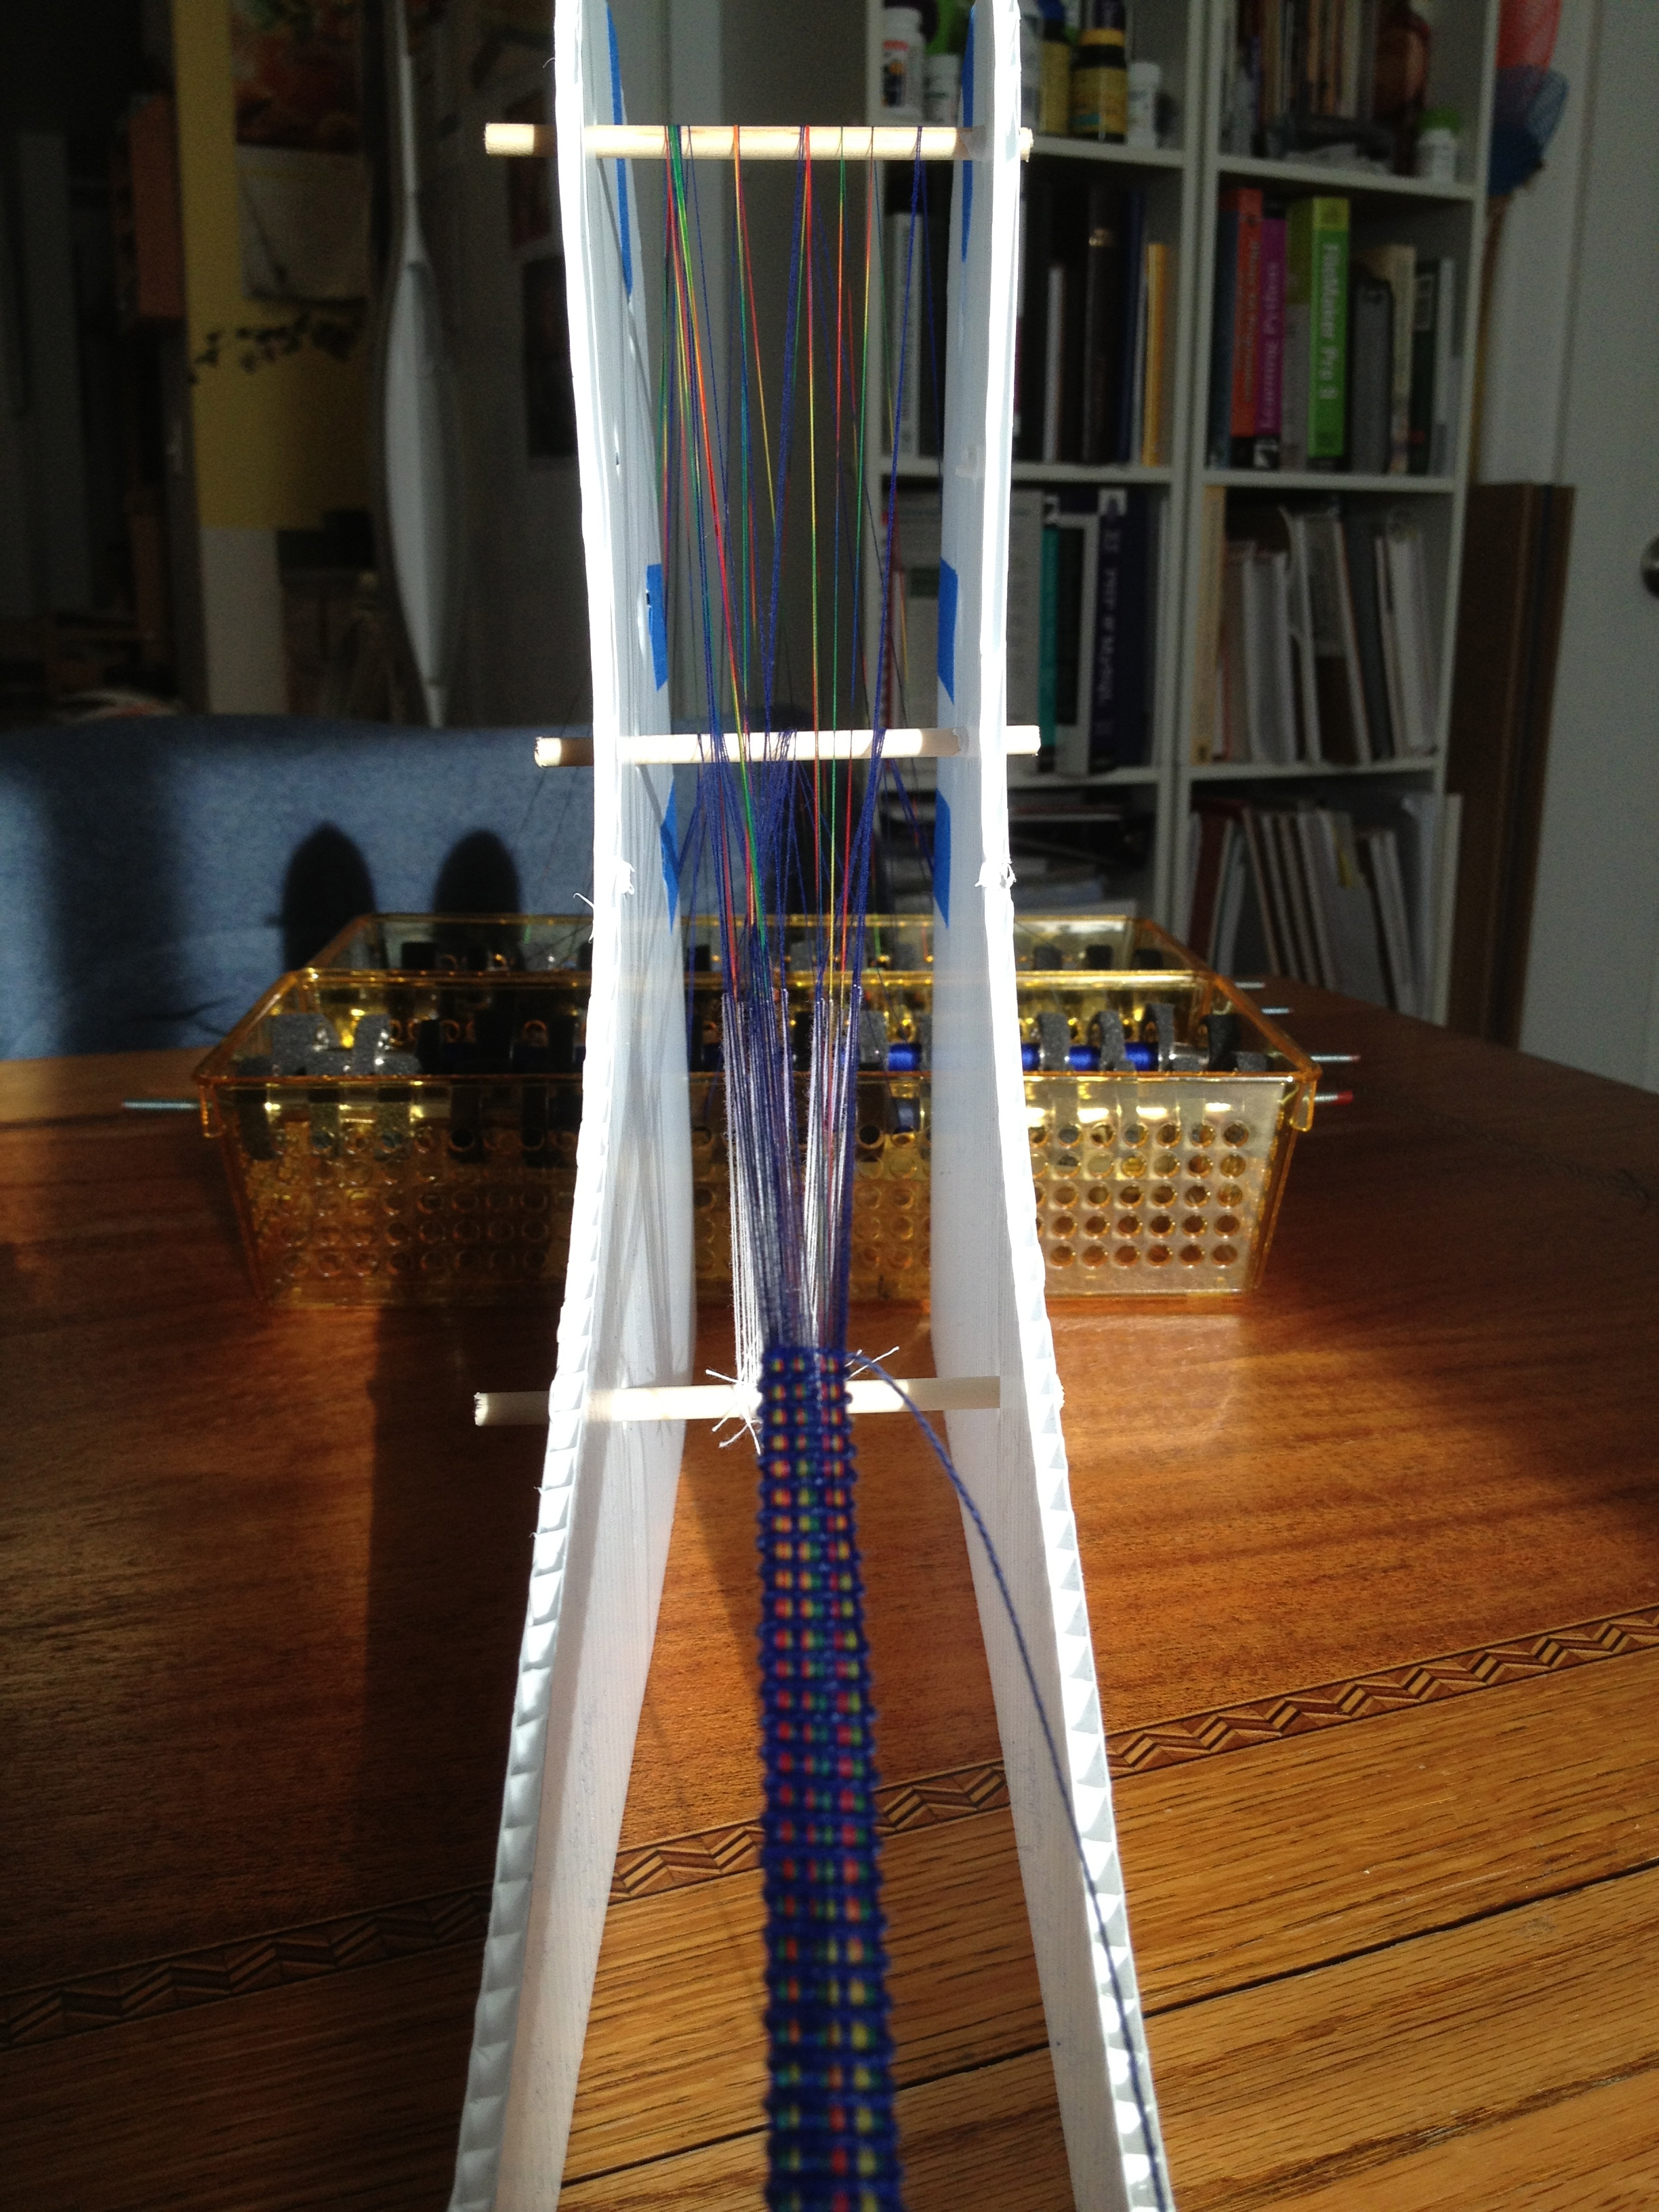
I have one more experiment to do with this loom, see if I can weave a bookmark on it.