 |
| Picture slideshow generated with Smilebox |

|
| Picture slideshow generated with Smilebox |
 |
| Personalize a free picture slideshow |
 |
| Personalize your own photo album |

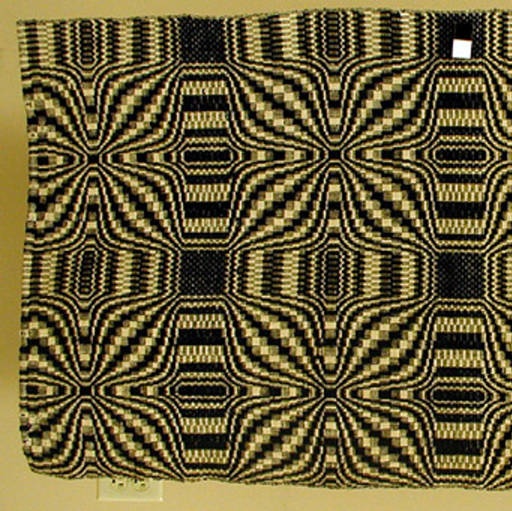 An old pattern in overshot weaving that has had many names over time: Muscadine Hills, Hickory Leaf, Blooming Leaf. The Double Bow Knot name comes from the leaf like square that forms the larger portion of the design. The dark square is called a table. Because there are two motifs used the pattern it may be most properly described as a Double Bow Knot and table design.
This design can be woven with only four shafts in an overshot structure. Overshot blocks can share shafts, which is what makes them so efficient. It is a structure that will require you to have planned your design carefully before you thread your loom. The threading typically is the most limiting design factor. 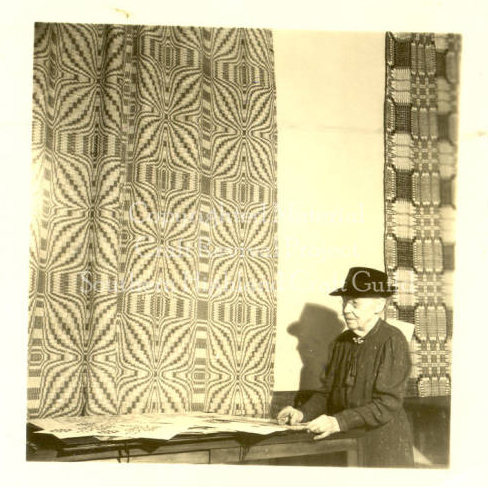
The goal of traditional overshot weaving is to be able to “square” the blocks as they are woven from the lower right hand corner of the loom to the left most block, which will result in the leaf or bow portions being square also. The coverlet in the photo on the right was not a perfect square and did not “match” when sewn together. This could be from the choice of threads for pattern and weft, and it may also have been impacted by how tightly it was beaten when woven.
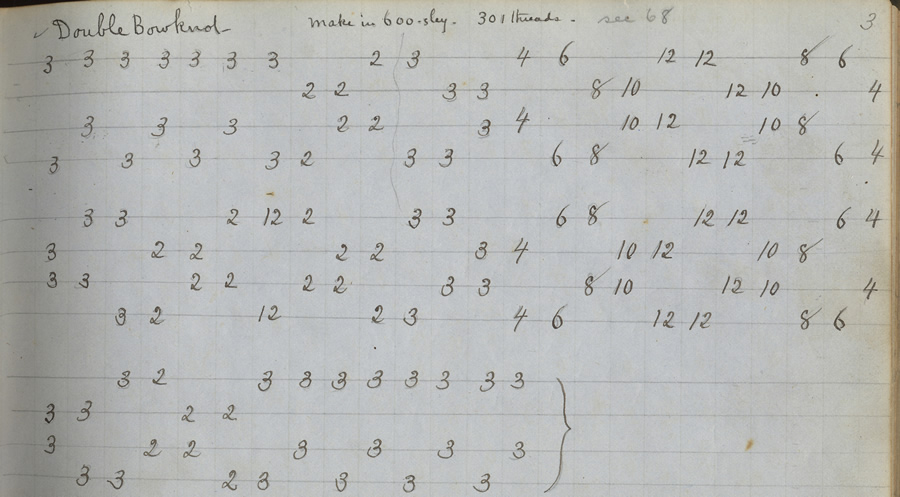 Early copies of drafts for this coverlet were written with a different notation than weavers use today.
 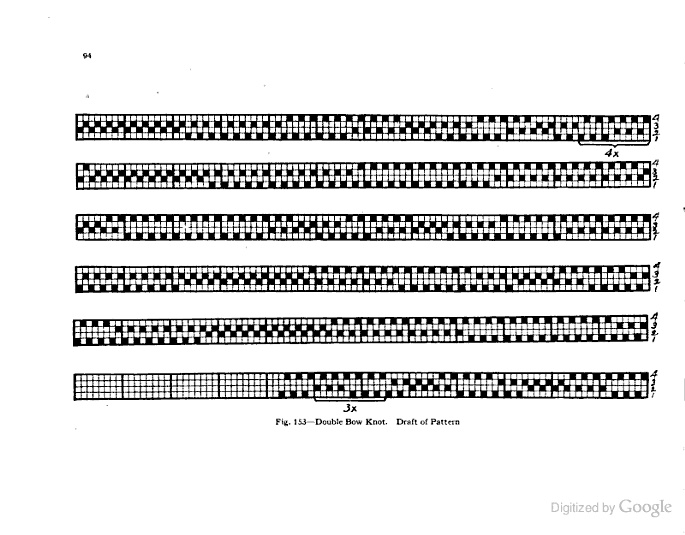 The only threads listed were pattern threads. Weavers were expected to know where the plain weave threads were to be placed. The draft to the right is a modern version of the draft on the left. All of the needed threads are shown for the pattern. It is read from right to left and top to bottom. What it does not tell you is anything about the needed tie-up or the treadling.
Not to despair, these early weavers knew some basic weaving information that may not be apparent to weavers today. If you look closely that the draft above on the right, every other thread appears on either the first or second shaft, this is our clue as to where the plain weave background will come from. The first treadle will need to be tied to shafts 1 and 2 and the second treadle will be tied to shafts 3 and 4. When you alternate these using treadles you will achieve a plain “tabby” weave. When translating a historic pattern I suggest simplifying it into a profile draft to demonstrate the order and number of blocks that must be threaded on the loom. When you do this you can now use any block structure you would like.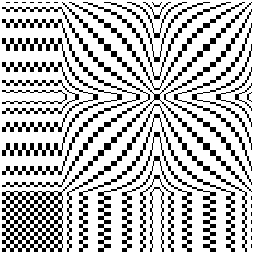 This design can be woven using any loom that can support 4 blocks of the desired structure. This pattern in overshot will require 744 threads. If sett at 24 threads per inch a single repeat will be 31 inches wide when woven. In the photo of the full coverlet above the coverlet was woven with 2 and 1/2 repeats in each piece. The documentation for the coverlet indicates it was sett at 40 ends per inch (epi). It would have likely to have been woven on a 60″ wide loom.
This profile could be woven as:
There are a ton of possibilities based on your choice of profile and structure, we haven’t even begun to talk color, or choice of materials.
Because of the large size of the profile draft, it is not expected that the coverlet will require a border. The table portion of the design can function as a border if it is placed on both sides of the warp.
Primary Weaving Resources:
Additional Weaving Resources: (Use Resources search page for a complete listing)
Drafting Files for Download:

Download a Profile Draft to use in your weaving software

Download the FULL Weaving Draft to use in your weaving software. File is in ZIP format.
Download a Zipped (Compressed) file with the Full Draft images of threading, treadling, and tie-up. Does not require you to have weaving software.

Download a Double Bow Knot Shawl Project. Package includes a PDF file
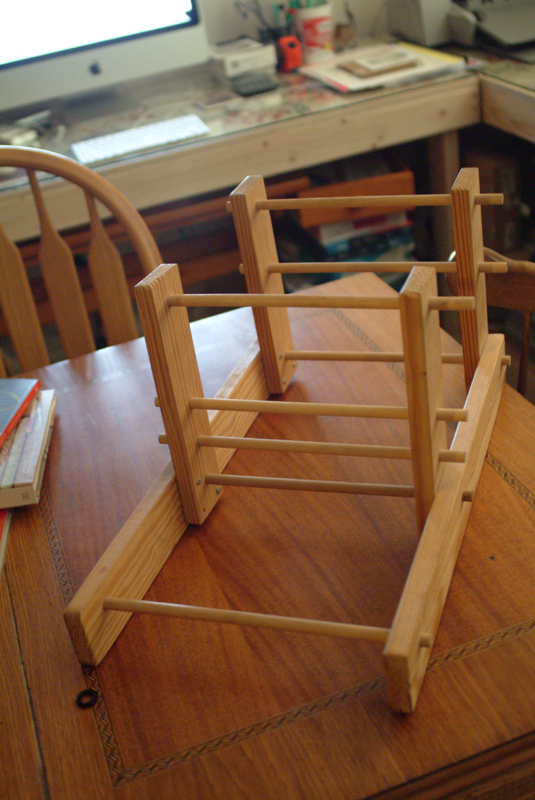
I had a great loom experience this week. I was asked by the children’s program director of my church to look at a loom she had rescued and to see if I could set it up for children to weave on during Sunday School. I walked into the room on Tuesday and discovered this treasure, a 45″ Leclerc Gobelin Tapestry loom. After careful examination I can see that it is missing a few parts, but could it still be used for weaving in its present condition?
I did a little research on the internet, only to find that instructions for warping the loom are not available for free. There were two books that were suggested by Leclerc and they cost $35 to download. Not a good option for me at the present moment – this is a no-budget project.
My SIMPLE warping instructions for this loom:
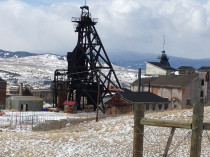
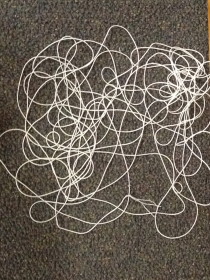
 I had the opportunity to purchase a pin loom this weekend as a result of a trip to lovely Butte Montana. The day was quite enjoyable, if a bit chilly from the snow flurries. I really did not have the expectation of picking up a pin loom that day, but when I discovered it in the clearance area of a Jo-Ann’s store for 25% of its retail price, the bargain hunter in me was hooked.
I brought it home and waited until dinner was complete, and cleared away. I brought it out and looked at the instructions. All I wanted to make was a simple pair of baby socks for a grandbaby that is due in the next couple of months. I figure just a couple of hours of work. Right? Oh, so so wrong!
I began my project by watching the video and casting on and learning how to do the knit and the purl stitches on the loom. I noticed a couple of issues for me right away. It is difficult to reach the middle area of the sock when it is set to a small size. Two start over’s and more than 8 hours later, I looked at the project and it was not all that I hoped for.

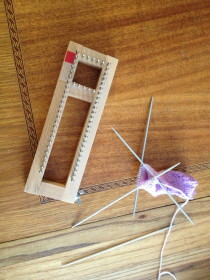
I am not a great knitter (I am a weaver). I can read and follow patterns, but often it is the counting that gets the better of me. But give me credit, I pulled out my trusty (rusty) double point needles, cast on and got started. Finding the locations of the purl stitches on the needles was easier to remember — I divided the stitches evenly so that I knew the two purl stitches were on the outside ends of the needles and never in the middle. On the pin loom I needed to use some sort of marker – the red post it tab. In less than three hours I had this sock halfway knit. Note that you are seeing the right side of the sock in this picture, but when I am knitting the right side is on the interior of the needles. (Experienced knitters don’t snicker too hard, I am handicapped – I am left handed.) I always have to peek inside to see what is going on. I completed the sock tonight with only minor trauma, when I picked up the knitting after taking this picture I forgot to turn it inside out before starting to knit… I had a four rows of purl stitches before I realized it. Off come the needles, and out come the stitches —(I was almost in despair except for a friendly crochet hook to save the day). Weaving is easier than this. Here is my final sock, a spiral tube. Has anyone woven a baby sock, and how did you accomplish your magic feat?
My assessment: the sock loom is nice and sturdy, and it works according to the instructions that come with it. It is probably designed for someone who is a bit skinnier than I (children’s – teen’s socks). According to the directions I need to cast on 88 stitches to make a sock for myself and my loom is not that big (you can only cast on 60 stitches) The loom gauge is 7 stitches per inch. The actual knitting is not difficult – the rhythm is addicting once you get going. But it is more time consuming that I thought. I think I’ll stick to the knitting needles for this particular task this time.
I have one more experiment to do with this loom, see if I can weave a bookmark on it.
Nominate a Weaver
Do you know a weaver that could use some recognition from the weaving community? You can submit their name to Historic Weaving to be included on the Featured Weavers Page. Submit Here.
Handwovens for Sale
Are you a weaver that is looking for new places to market your handwovens? You can submit a FREE link to your website, gallery site, Pinterest or ETSY listing to be included on the Handwovens for Sale page. Submit Here.
Submit a Sample
Have you used a draft featured on Historic Weaving to weave a textile? Submit a sample image of your finished cloth (a link to a picture) and I will associate it with the draft on Historic Weaving. Our mission is to create a sample book for all of us to enjoy. Submit Sample Here.
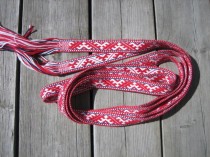
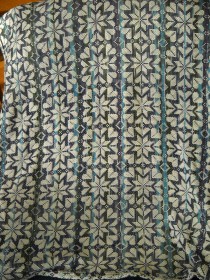
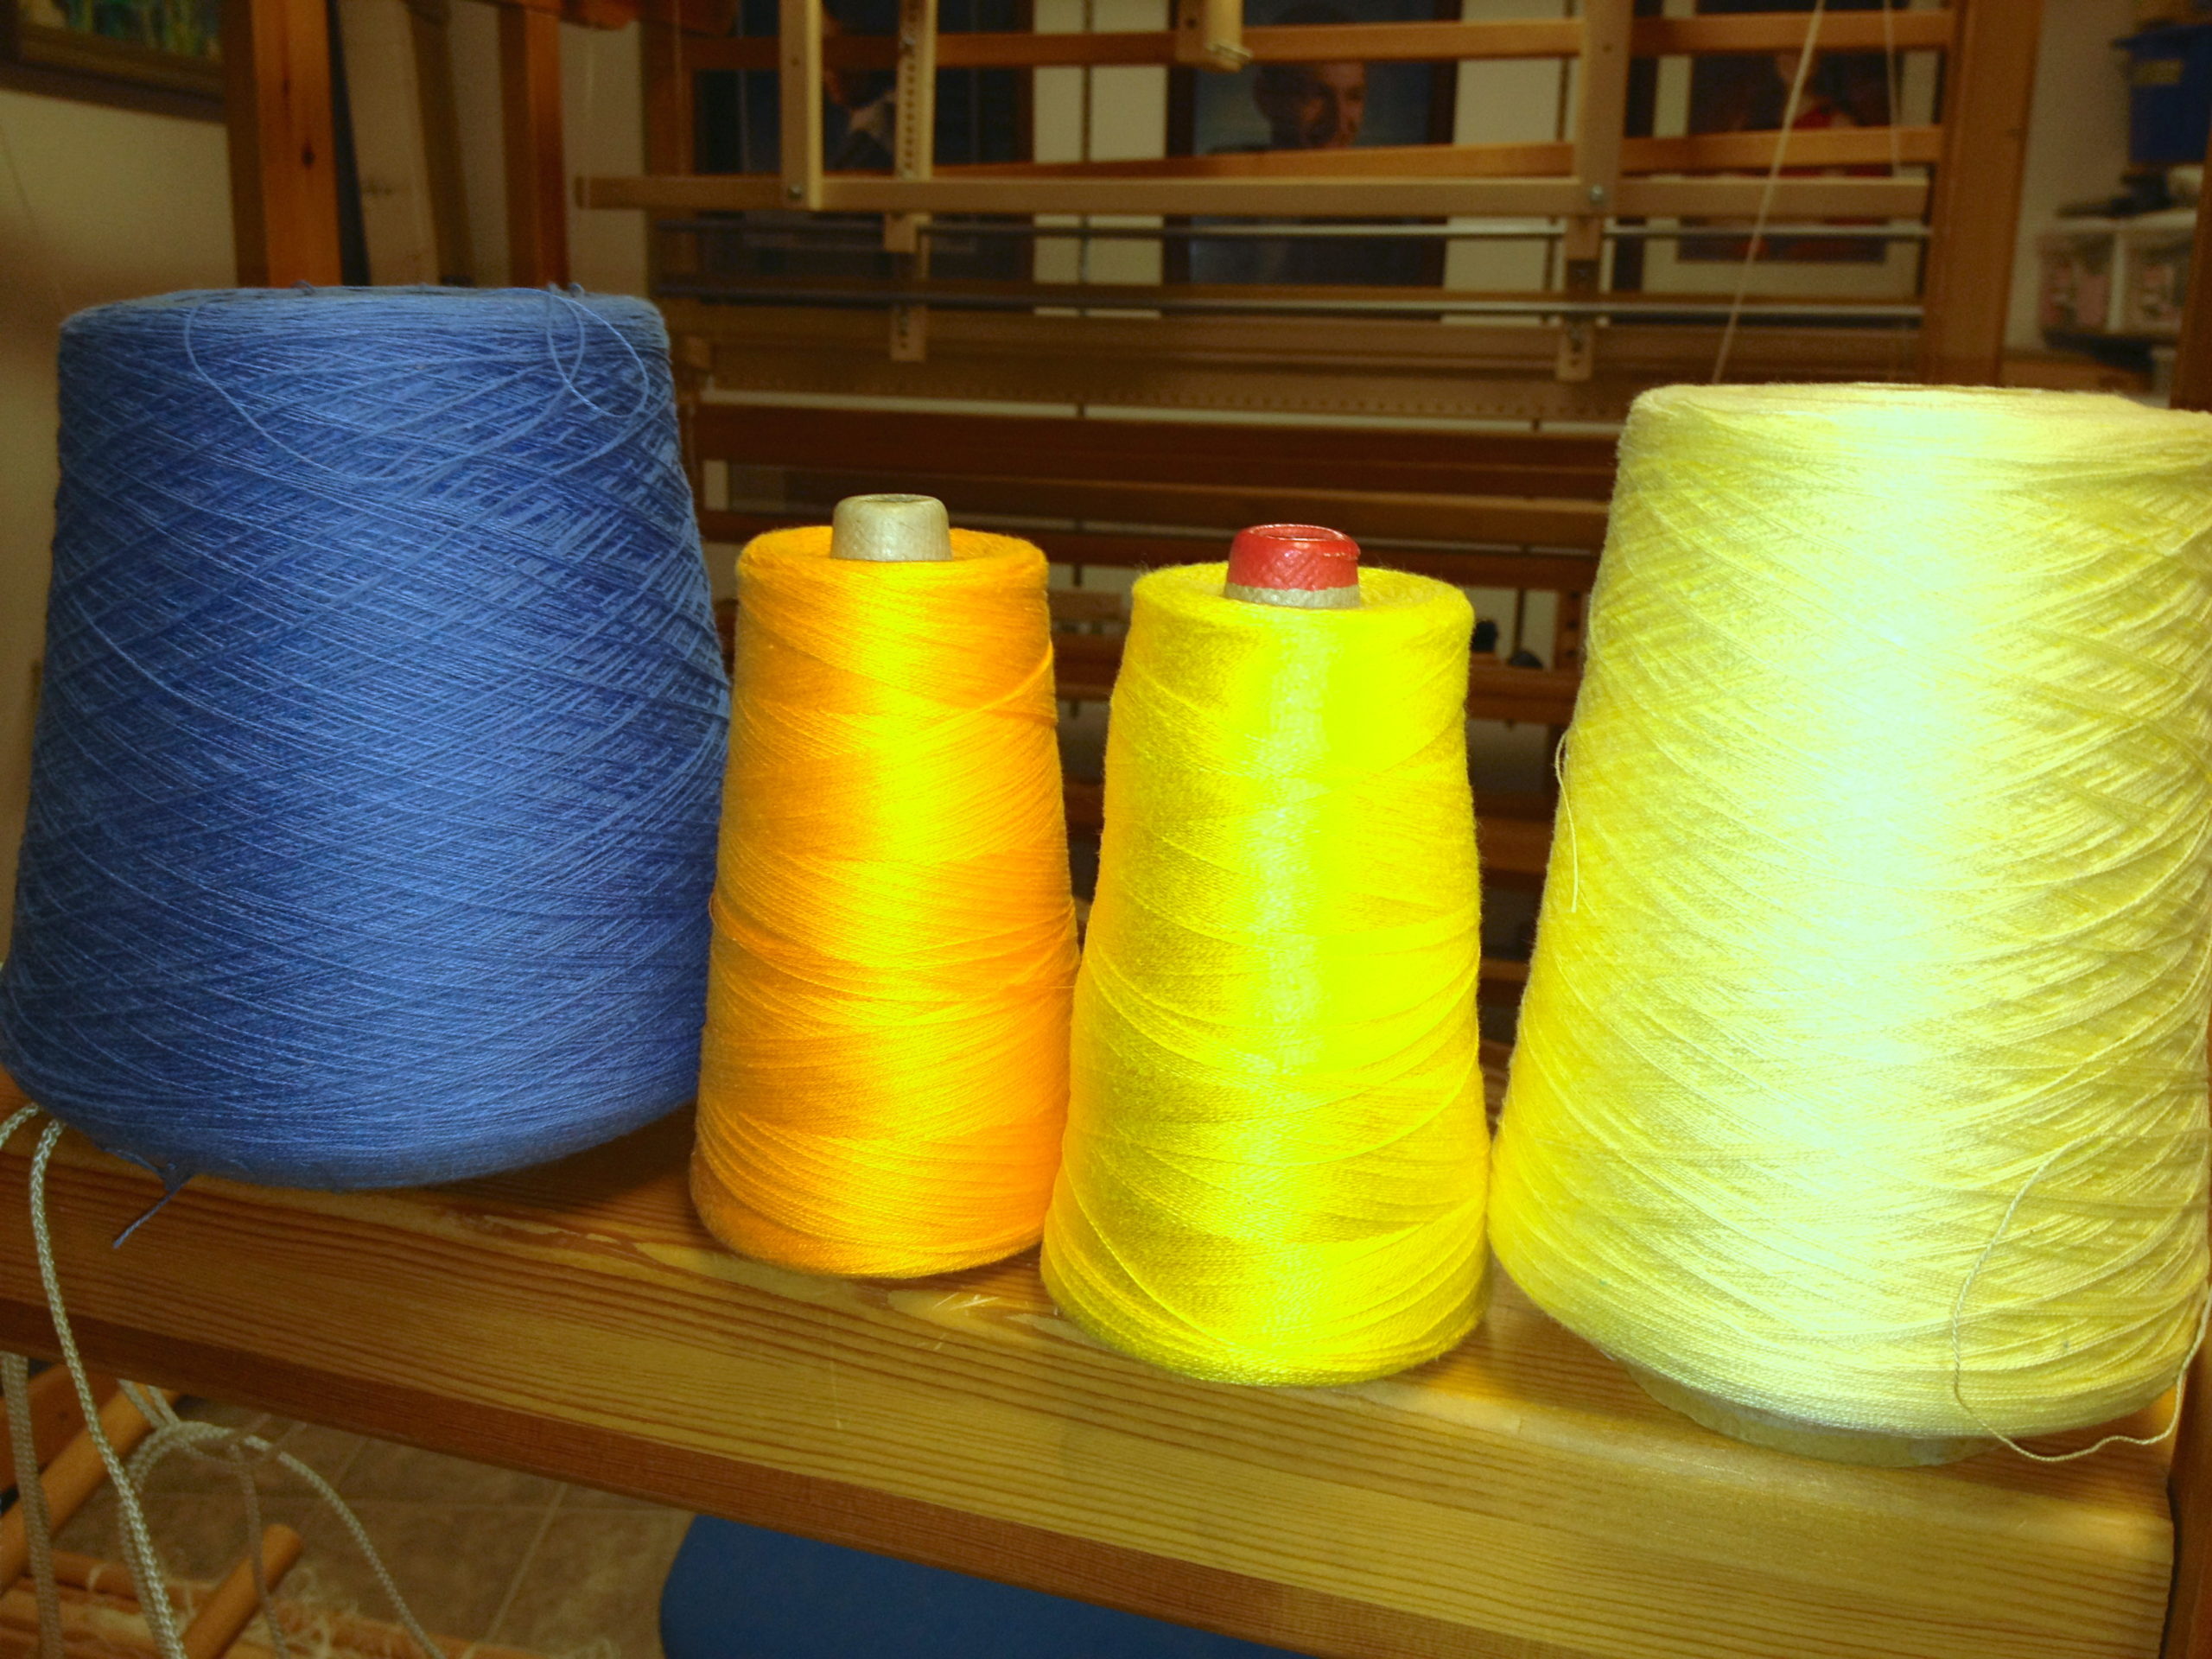
 Beautiful bands with a thousand uses. Many cultures weave bands but few weave them with the style of Scandinavia and Latvia. The materials needed to weave these bands are simple and readily obtainable.
 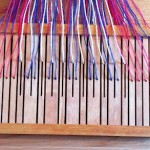 There are groups dedicated to this type of weaving. The Braid Society in Europe and TWIST in the United States.
On the society websites you can find galleries of woven bands and instructions on how to get started weaving in this tradition. I also found a course being offered by the North House Folk School in Minnesota in May of 2013 that you may be interested in taking if you are in the area.
While the bands are traditionally woven on backstrap looms they also can be reproduced on a standard loom if you happen to have one handy.  The image on the left is a Latvian design that I wove in a wide band on my AVL loom. The most important consideration to remember is that a pattern thread is twice the thickness of the ground thread. A traditional belt, band or sash is often woven using wool. My experiment was woven in cotton.
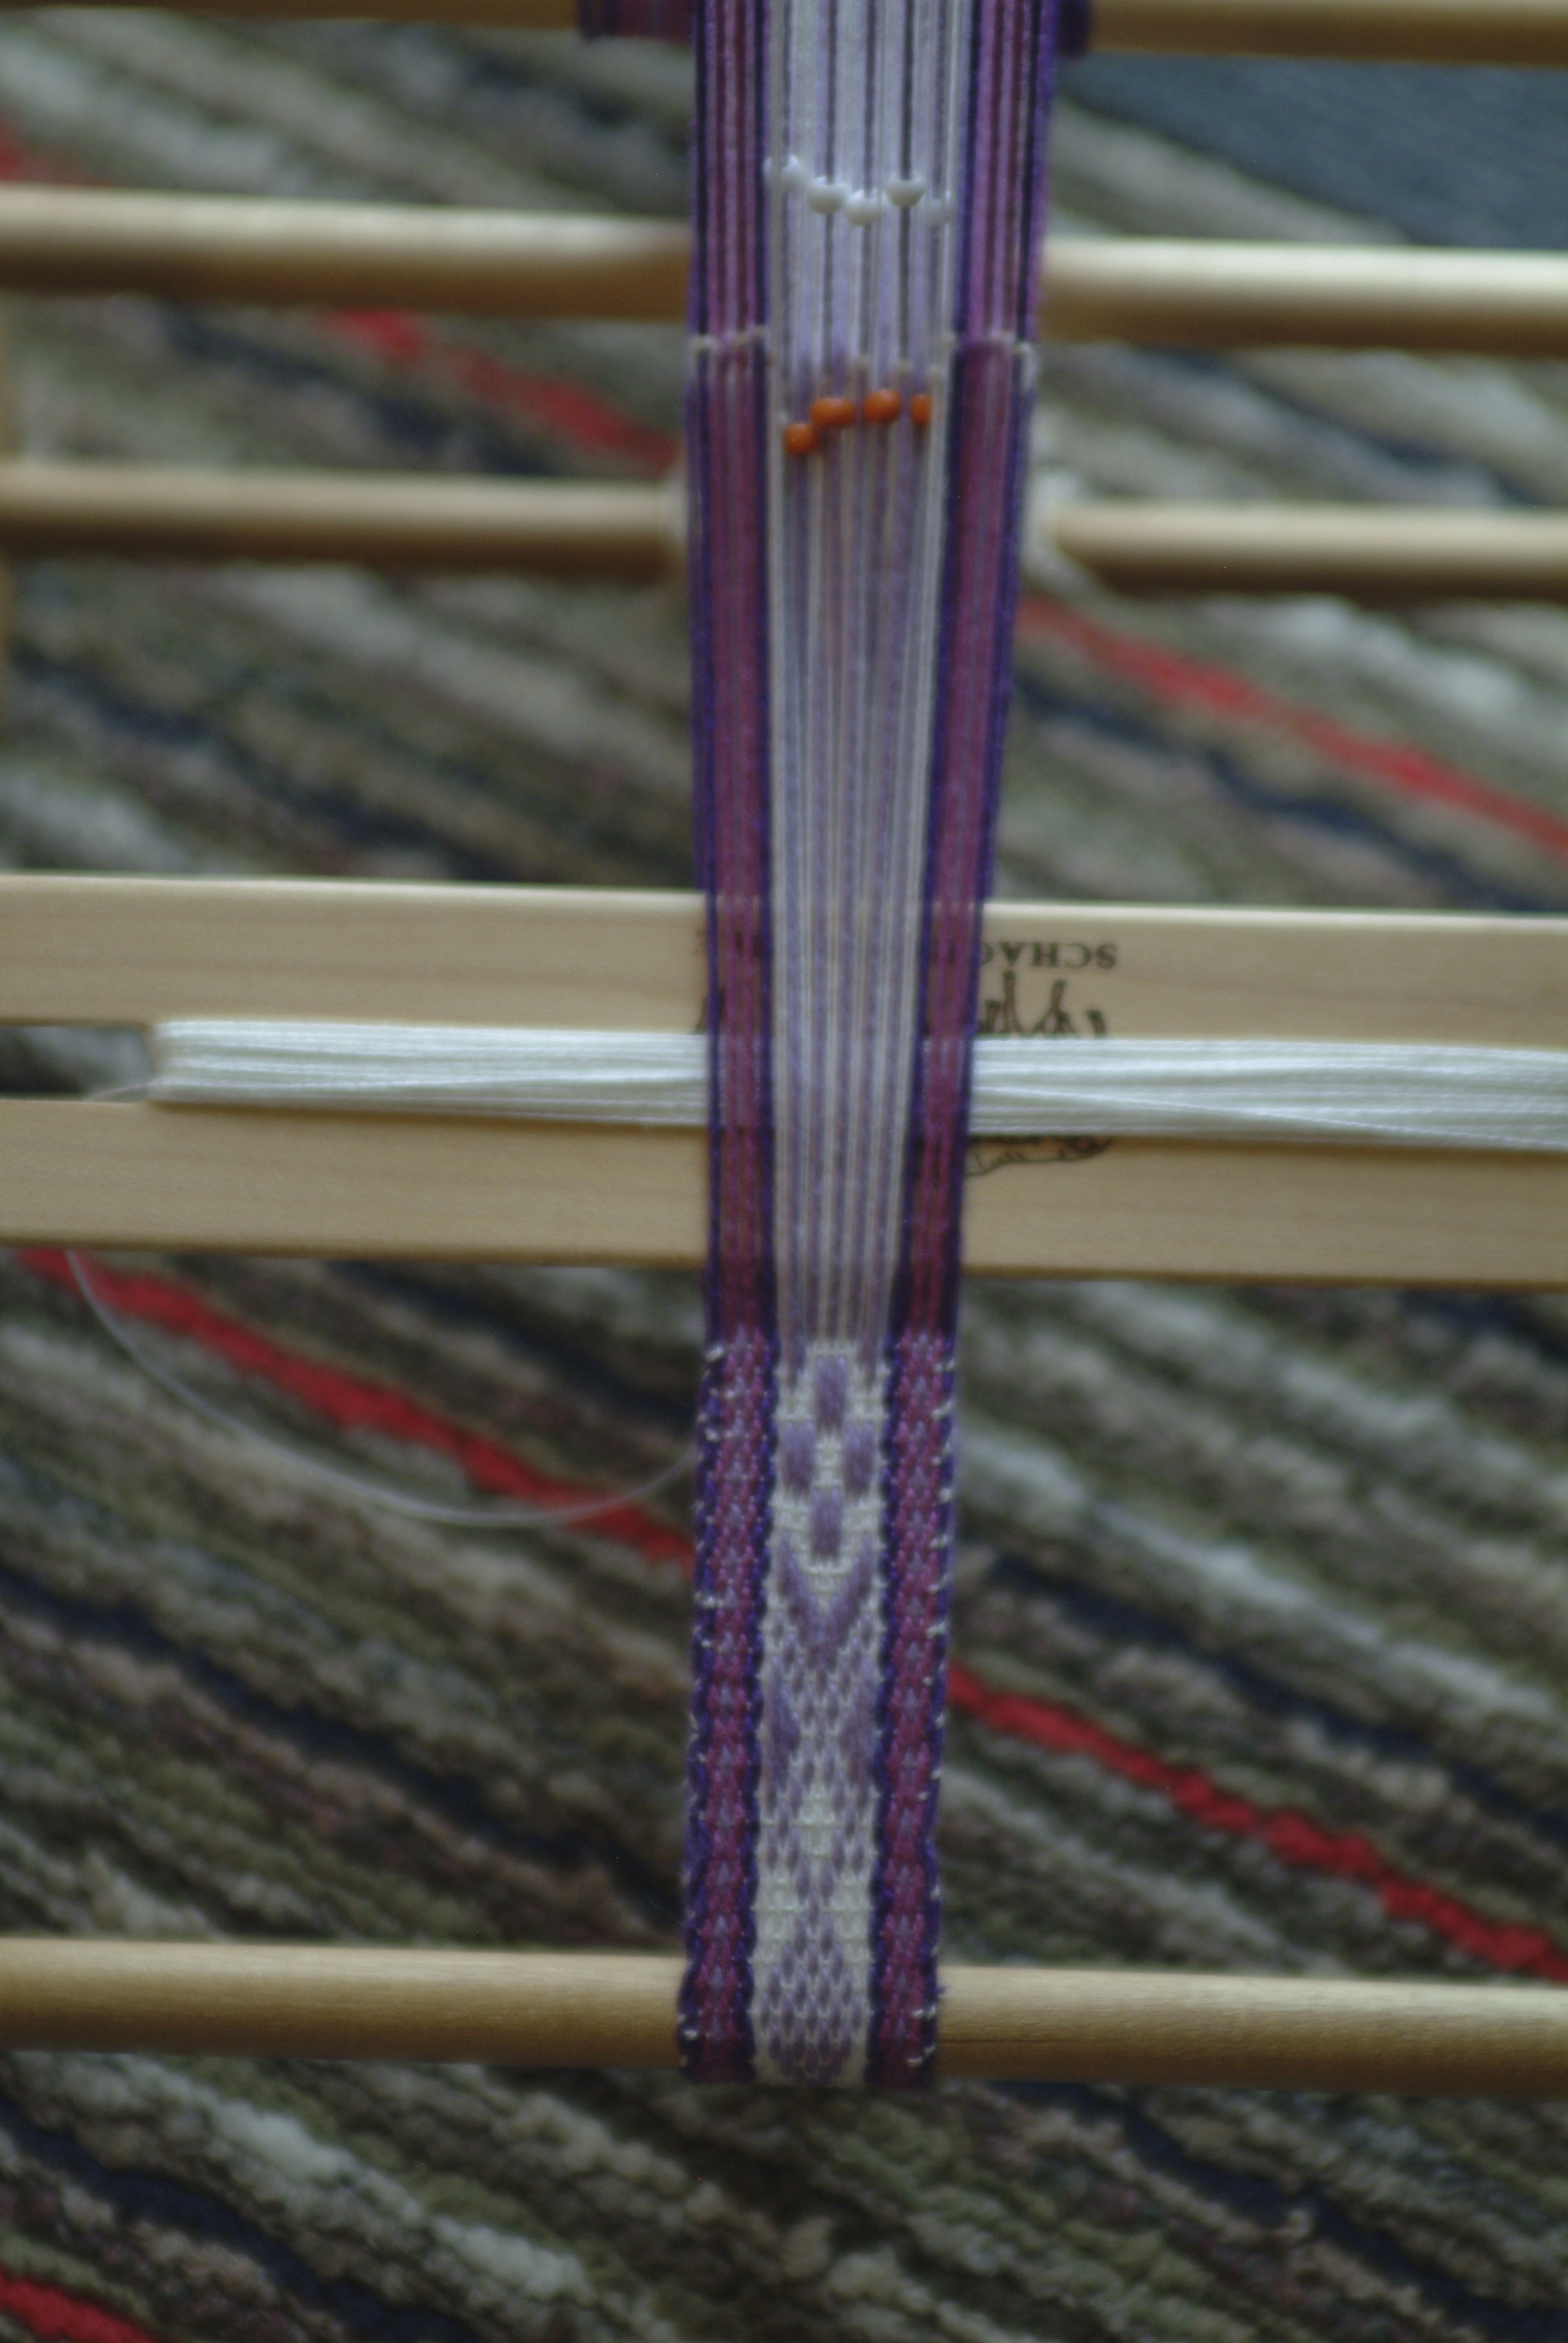
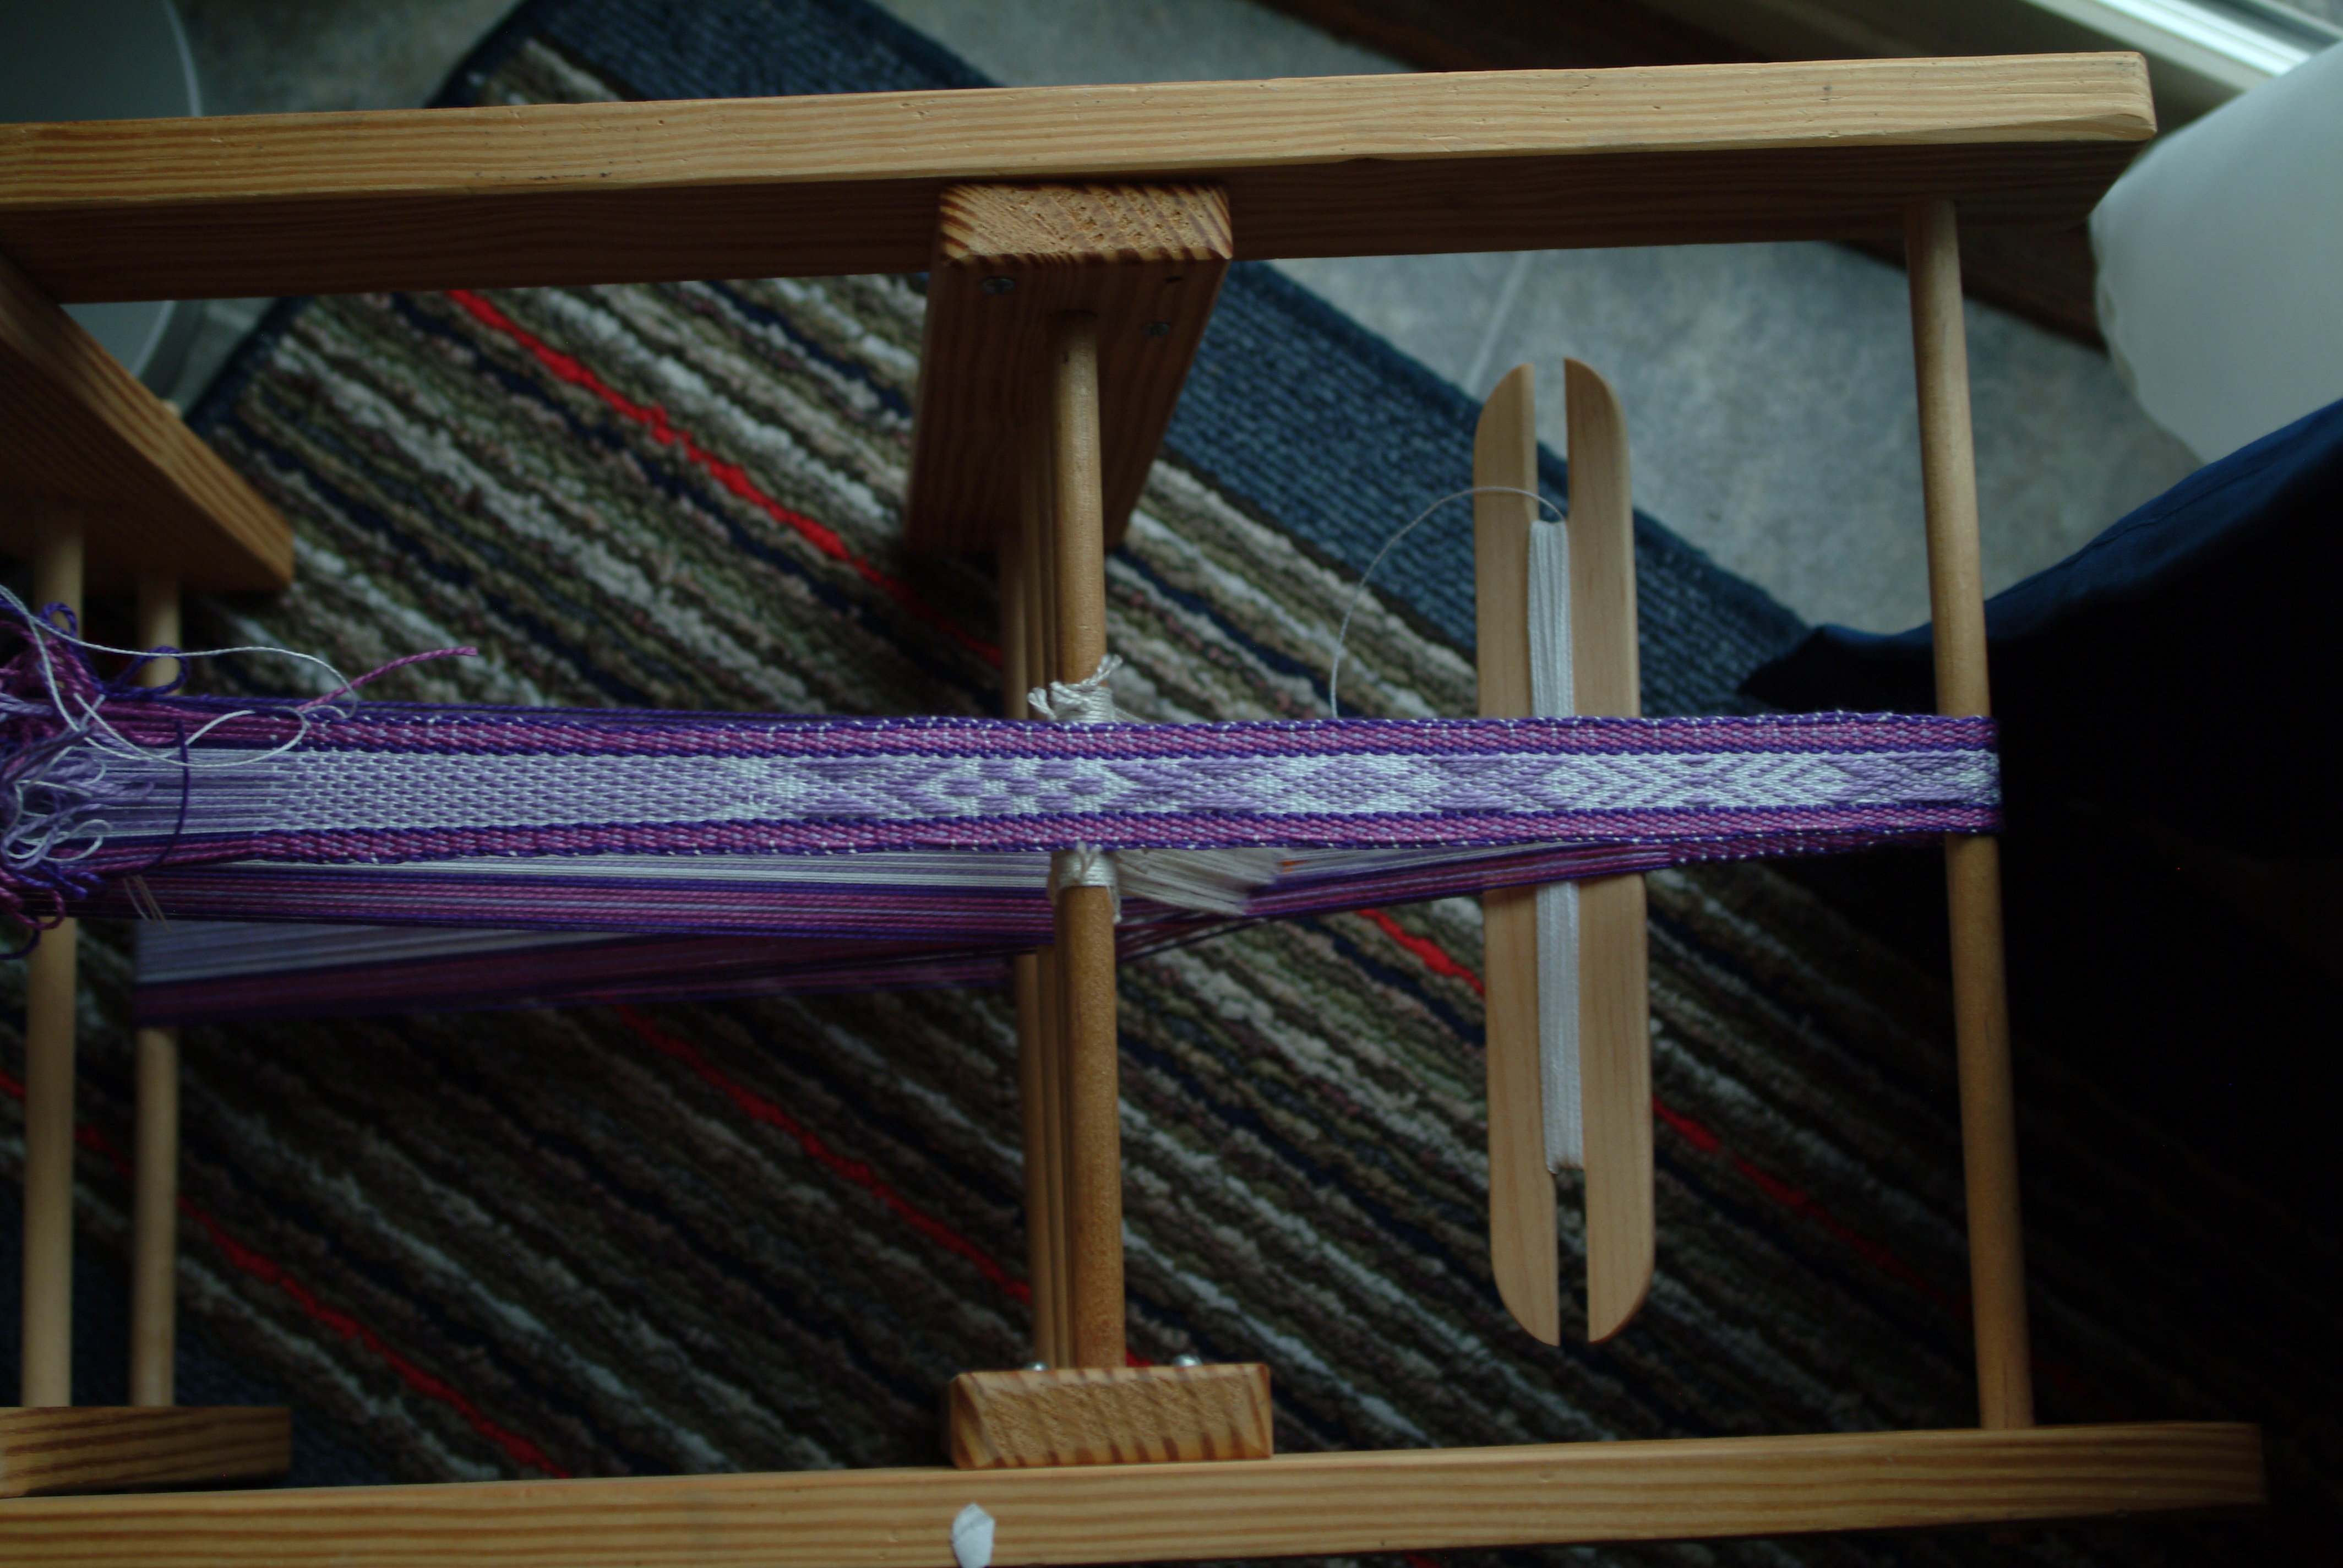
I have also been able to weave this style of band on my Morgan loom without using a rigid heddle or tablet cards.
I was able to make use of red and white beads to identify pattern threads and modified my draft to make weaving easier for me.
Here is a copy of the draft that I made for weaving the belt.
Books: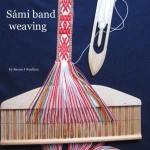
Video Tutorials:

 The Weaving Library website is a European version of the Handweaving.net for silk and dobby weaving. If you are into looking at antique and modern silk weaving and learning about textile analysis which included photos of swatches of the weaving drafts, this is the place. A good percentage of the material is presented in French and will required knowledge of european drafting methods, but there are areas in which you can find English translations. The site appears to serve historians, and commercial weavers alike. The site offers some PDF files of original texts for download many of these are in French. My primary interest in the site is to continue to get inspiration for historic drawloom weaving.
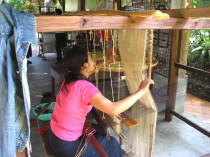
 tribaltextiles.info is dedicated to sharing tribal textile information – particularly of a visual nature – with fellow enthusiasts as an on-line resource and to maximize the possibilities offered by the internet of assembling information in a dynamic, three dimensional, flexible and interactive format.
This site contains studies, travel reports photo galleries and bibliographies that can be used for research. What an amazing find! What lead me to the site was a Pinterest pin, 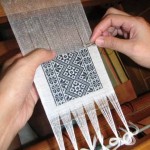 when I got there I was very confused because at first glance it appeared to be a text only site and I did not find the image on the Pinterest pin right away. After a little wandering around I was able to see the beauty and special weaving knowledge that it contains. If you click on the photo at the top of this post I’ll bring right to the photo gallery so that you can soak it in before wandering on your own.
Here is a link to the book Textile Fabrics of Aboriginal Tribes in Taiwan showing work of the professor Yushan Tasi. You can see some of her work on display in a recent exhibit at the Shung Ye Museum of Formosan Aborigines which is located on Yang Ming Mountain overlooking Taipei city. From this link you can learn more about the people who’s weaving the professor is studying. Read about Atayal tribal life. 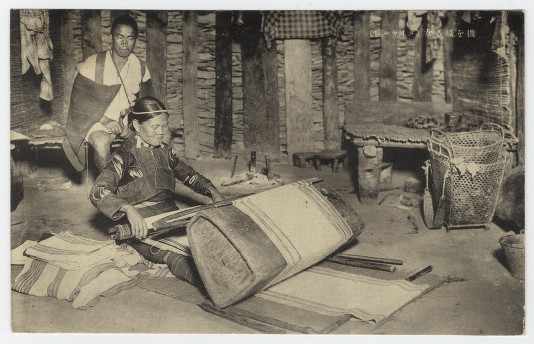
There is a movement to preserve this tribal weaving at Atayal Textiles Research Center, houses a ramie farm, a battery of designers, and several women who work together to display and sell textile handicrafts and accept orders from government agencies to promote the beauty of Atayal textile workmanship. The Center currently employs a total of eleven personnel, ranging from 16 to 67 years of age, all of whom come from the Atayal community along the Daan River.
The Book of Looms shows a diagram of the Atayal loom and describes how it works.
Each piece of the loom is pictured individually and its purpose is explained.
Here is a video of the loom in action:
 Use this site Yarn Calculator to make your project calculations for for how much warp and weft thread is needed.
![]() A color picker. Use your picture or select from theirs to generate a palette of colors for use in your next design.
A color picker. Use your picture or select from theirs to generate a palette of colors for use in your next design.
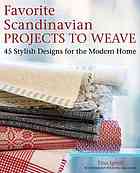
I went to the local library a week ago and I found this little treasure. Because I have a Glimakra drawloom I was very  interested in this book. Hints and tips from the writers of VAV Magazine are ALWAYS welcome. Was I delighted when I opened
 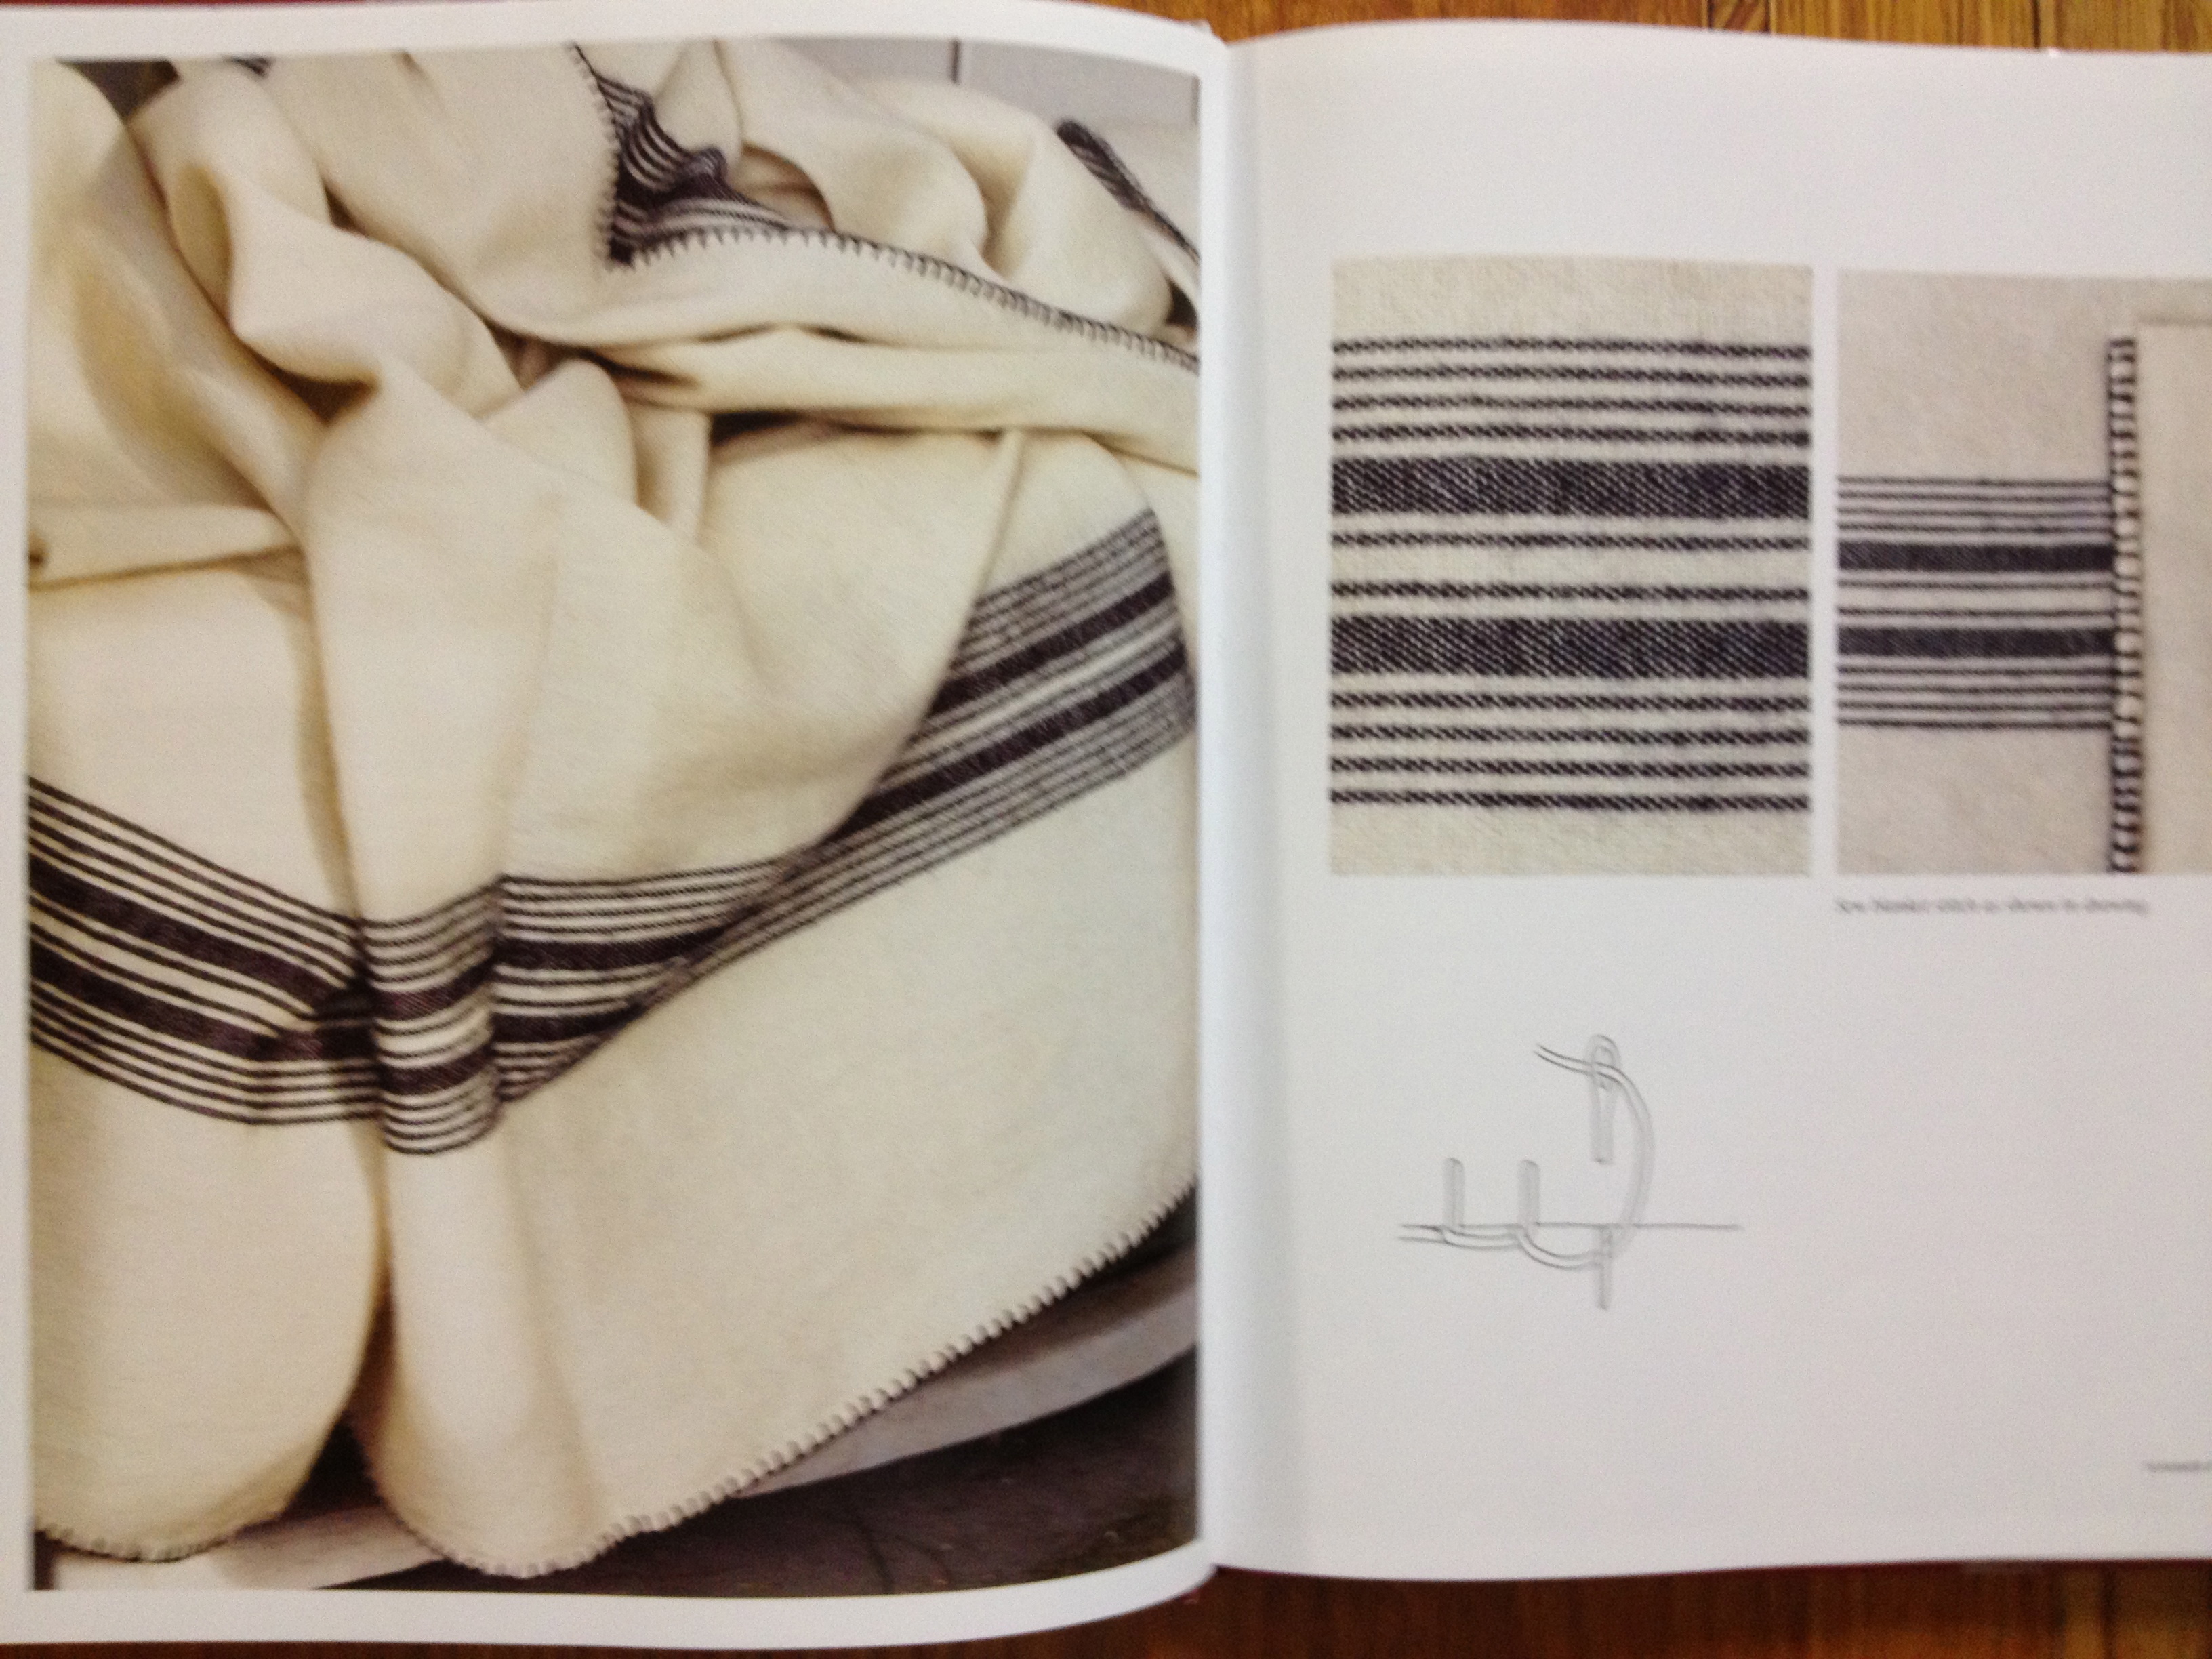 the cover to browse through the pictures. None of the projects are overly complicated. And some of the treasures include how to weave a hammock, make european style linen towels with the woven loops, and a striking striped summer “light” blanket. While the threads are not ‘translated’ it will be easy enough to make use of of Handwoven’s thread guide to find our American equivalents.
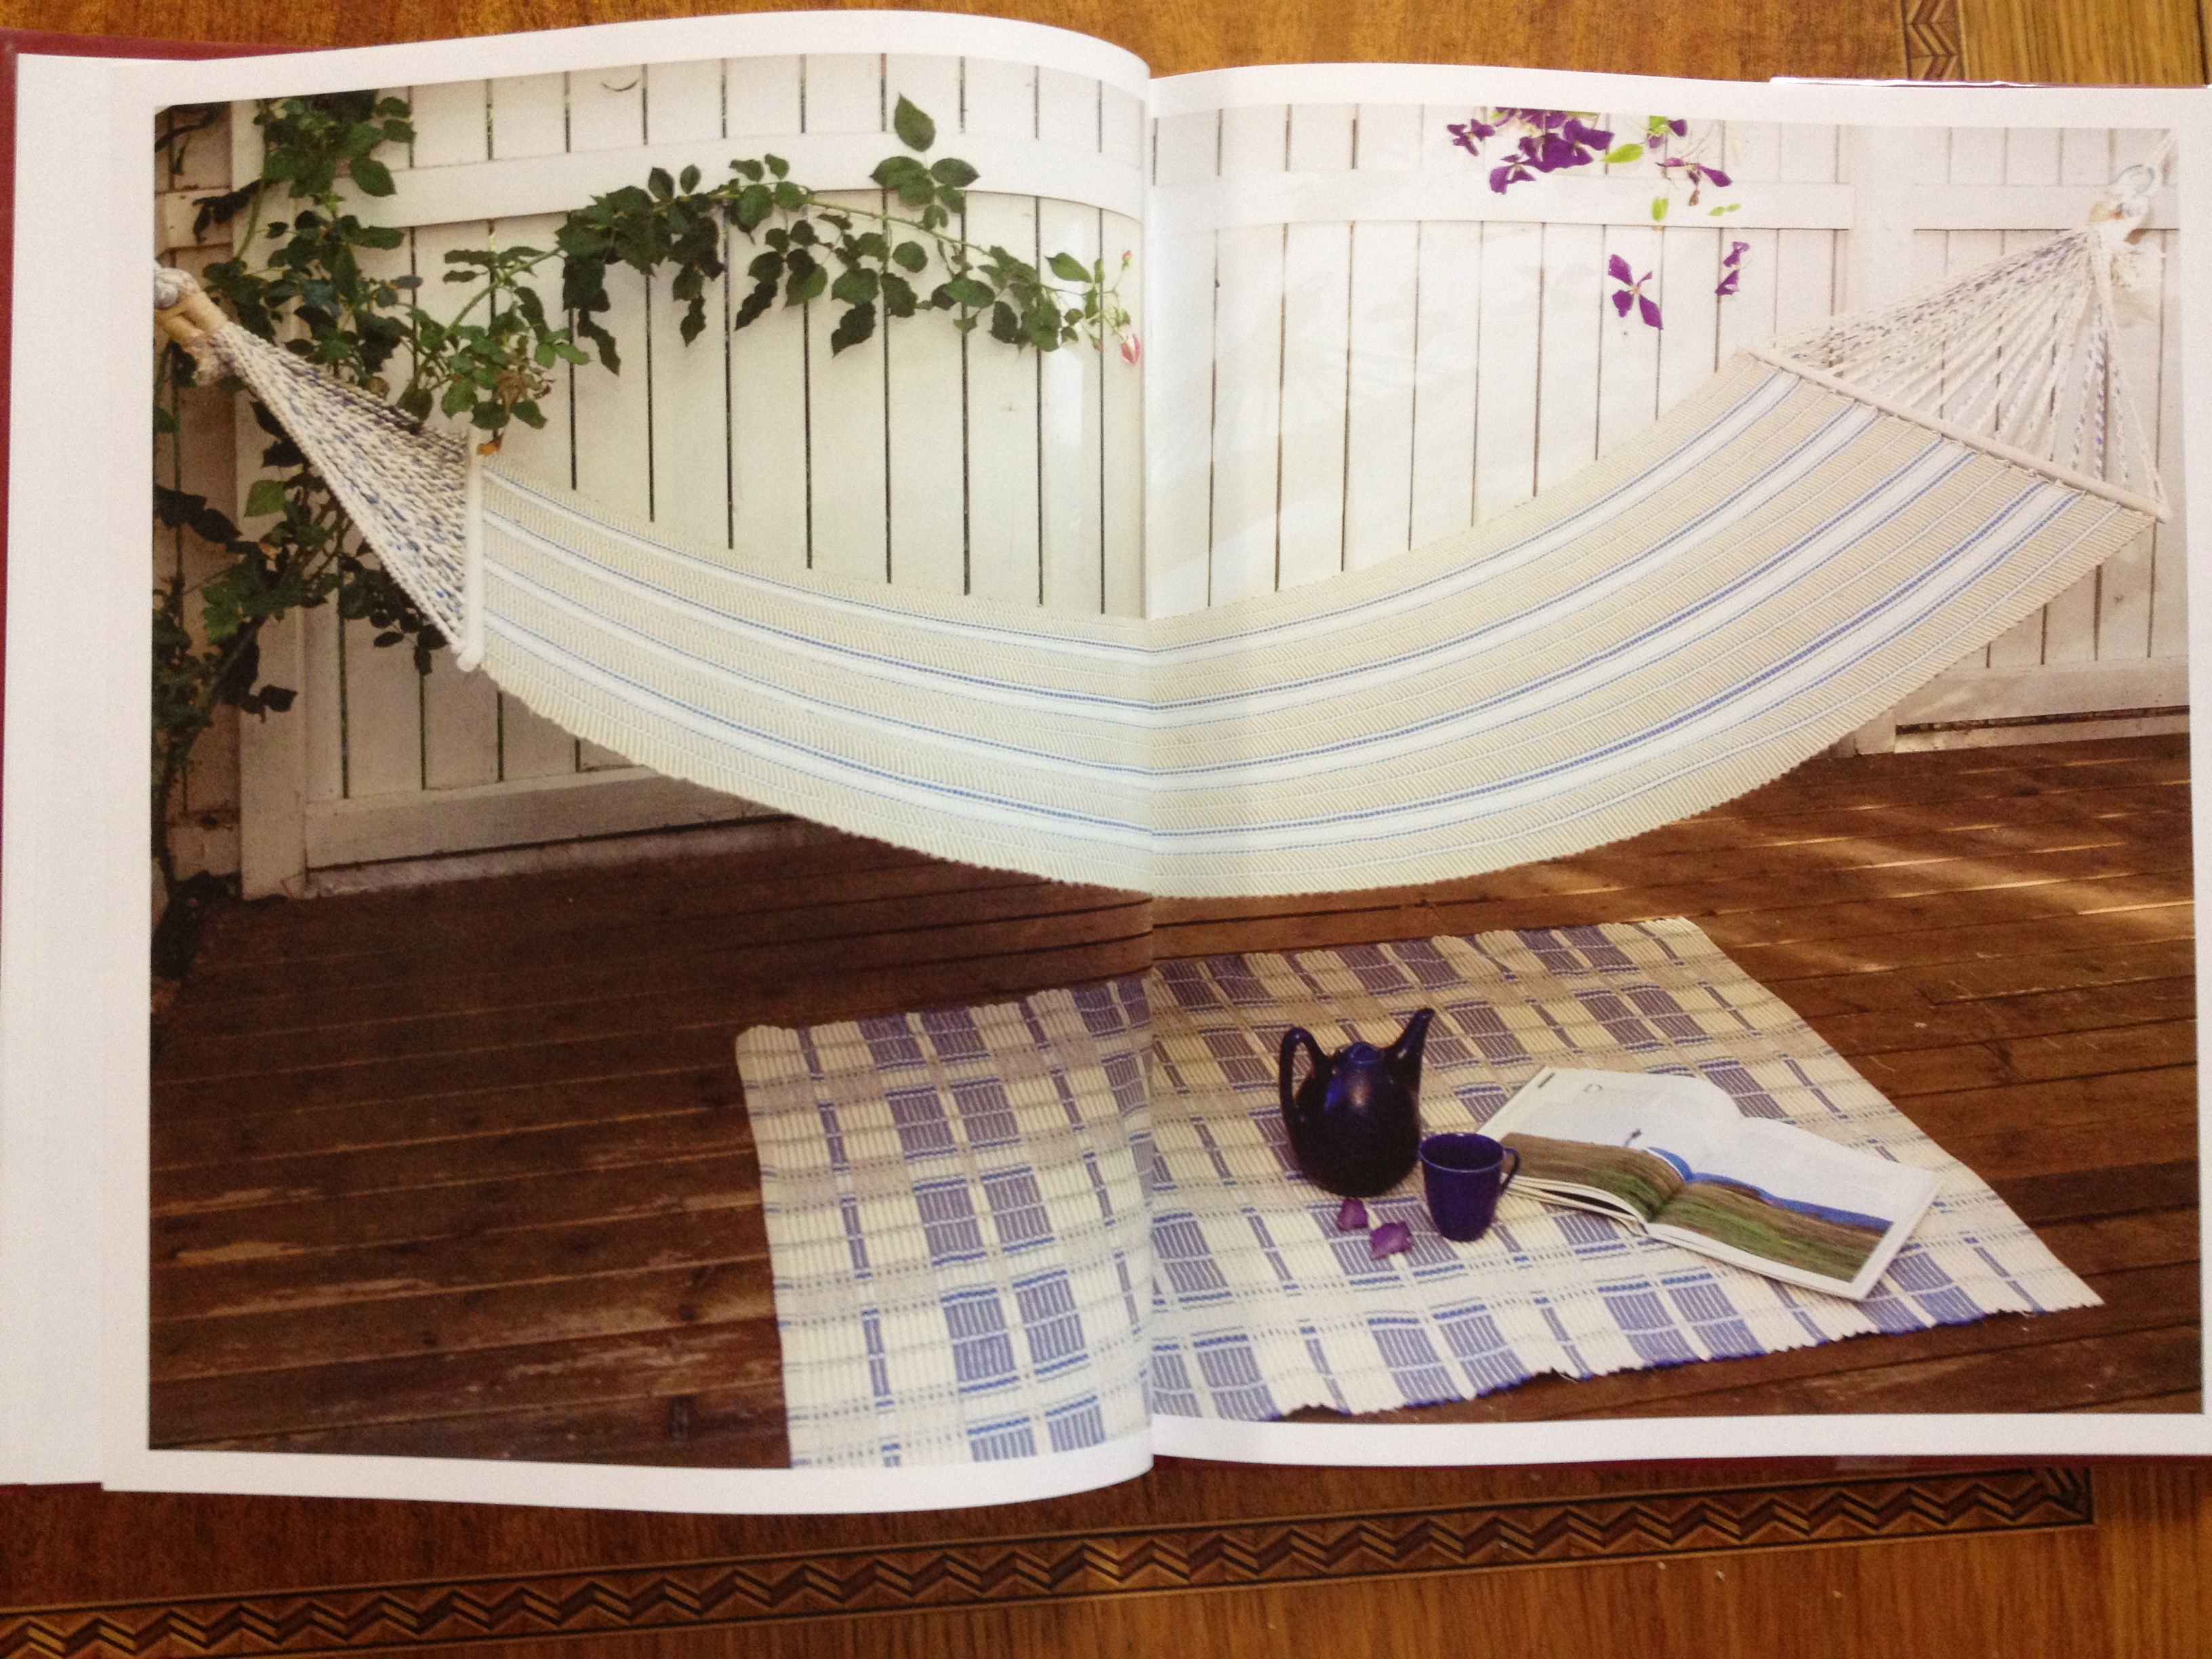
I am most interested in the hammock project as I have always wanted to make one for my house. I can’t wait for a sunny day and a glass of lemonade and my sunglasses!
[pods name=”weaving_resources” slug=”favorite-scandinavian-projects-to-weave” template=”weaving_resources”]
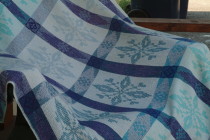
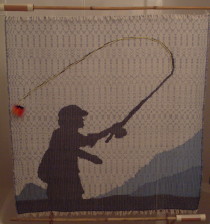
 I began my weaving adventure on my AVL loom with a summer and winter structure. My goal was to immediately see how much detail I could capture in a single structure. Leave it to me to bite off more than one person should chew in one sitting. This was the throw that I wove based on Mary Meigs Atwater Recipe 19 from from her recipe book. It was woven in cotton. Little did I know how hard wearing this little project would be. More than 10 years of daily use it is still in great shape; no holes or stains, it is machine washed often in warm water. It sits on my favorite rocking chair in my living room a testament to my humble beginnings.
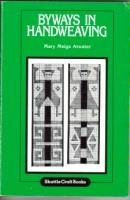
One of the most important books on handweaving by Mary Meigs Atwater. In it you will learn the basics of inkle and tablet weaving.
[pods name=”weaving_resources” slug=”byways-in-hand-weaving” template=”weaving_resources”]